


Quick Links
- Start Here: Register
- How to Navigate the Keyboarding Online Lab
- Launch the Application
- Mac Keyboard Shortcuts
- Chromebook Keyboard Shortcuts
- Navigating in the Online Lab
- Grading
- Creating, Saving, Previewing, and Printing a Document
- How to Complete a Document Activity
- Viewing the Document Performance Report for Completed Document Activities
- Ending the Session
Start Here: Register
- Go to your course website: https://www.pescirrus.com
- Enter your code into the Activation Code field.
- Complete the registration and follow the on-screen instructions to access your course.
- How to register in PES Cirrus
Launch the Application
- Log into www.pescirrus.com
- If you load into the dashboard, click on your Keyboarding course.
- Click the "Launch" button.
- Note: Launching the keyboarding application can take 30–45 seconds. If it stalls beyond 1 minute, refresh and relaunch from PES Cirrus.
- Select the assignment you wish to open.
- Click "Preview"
Once you are logged into the Keyboarding application, click the House icon in the upper left corner of the screen to open the Online Lab Dashboard page and Navigation pane. Click the "Courses" option from the navigation menu. You will see a Course Menu page listing the activities in your course as well as a Navigation pane and additional resources. Figure 1.2 shows the Activity List within the Course Menu. Click an activity link to go to that activity’s View page and then click the Launch button to bring up that activity.
Figure 1.2 Activity List in the Online Lab

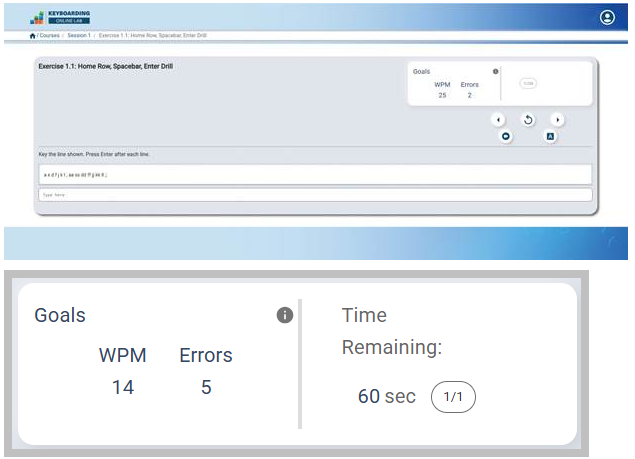
When you click the Session button, you will see a screen similar to the one shown in Figure 1.3.
Figure 1.3 Online Lab Exercise Activity Screen
To move around the Online Lab, you can click the Next button to go to the next activity, click the Previous button to go to the previous activity, or click the Restart button to return to the beginning of the present activity. To see the list of all activities, grouped by session (as shown in Figure 1.2), click the Course Menu button.
Directions for the activity display at the top of the activity window. If there is text for you to read as you key, it appears below the instructions. (For many activities, the text to key is in the textbook.) The insertion point (blinking vertical line) is positioned in the text SCREEN in which you will key text. Some activities are divided into more than one part. You can check how many parts of an activity you have completed by noting the progress counter on the right side of the screen.
Continuing with the Next Session
You can continue to the next session in the Online Lab by clicking the home button and navigating to the next session.
Exiting the Online Lab
To exit the Online Lab, simply click the Account settings button in the upper right corner of your screen and click Logout.
Grading
- Log into www.pescirrus.com
- If you load into the dashboard, click on your Keyboarding course.
- Click the "Launch" button.
- Note: Launching the keyboarding application can take 30–45 seconds. If it stalls beyond 1 minute, refresh and relaunch from PES Cirrus.
- Click the "Grades" button.
Creating, Saving, Previewing, and Printing a Document
In today’s world, people very rarely create documents by hand. Instead, documents are prepared using document formatting programs. This session will introduce you to the document formatting interface for creating and editing documents.
When you open a document in the document formatter, a blank document displays (Figure 34.1). Figure 34.1 also shows some of the commonly used features in the document formatter interface. The document formatter interface features a ribbon that contains several menus and buttons. Each menu on the Menu bar provides a different set of formatting commands and buttons. The ribbon is indicated in Figure 34.1.
Figure 34.1 Document Formatter Blank Document Screen
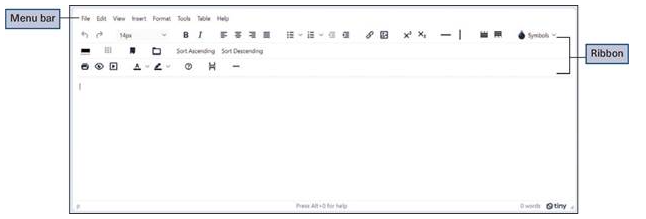
Each menu button on the Menu bar contains additional options for formatting a document. For example, the Edit menu contains options that will change the way text appears in the document. Use the options at the menu to increase or decrease the size of the text, make it bold or italic, and change the color of the text.
There are several ways to save a document. In the document formatter used in this textbook, you will use the keyboard command Ctrl + S to save the document. Note: For Mac users, you will use the Cmd key in place of Ctrl for any keyboard shortcut.
The image of the document on the screen is called a soft copy. To display a preview of the document to see how it will be printed, click the File menu and then click Preview at the drop-down list or click the Preview button on the ribbon. This displays a Preview window, as shown in Figure 34.2. To print a copy of a document, referred to as a hard copy, click the File menu and then click the Print option to display the Print window, shown in Figure 34.3. You can also display the Print window by pressing Ctrl + P or by clicking the Print button on the ribbon.
Figure 34.2 Preview Window
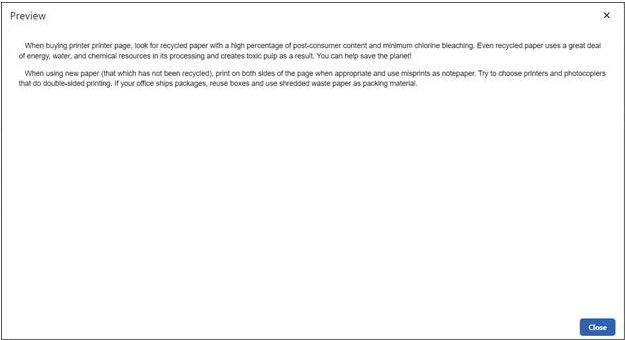
Figure 34.3 Print Window
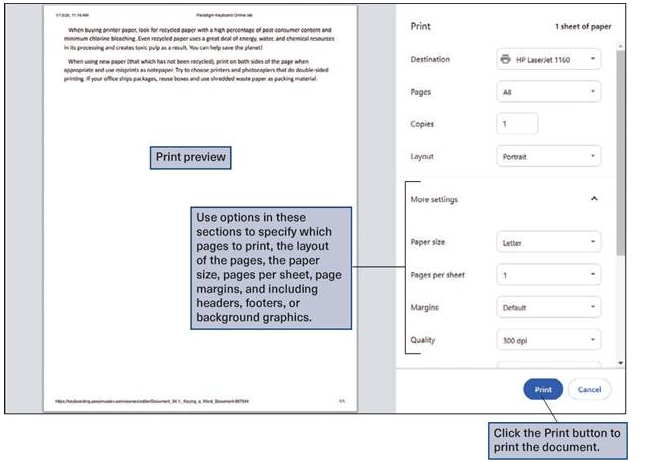
The Print window will display a preview of how the document will print, and the print settings buttons at the right of the image are used to make changes to how the document will print. Before clicking the Print button to print the document, use the drop-down list in the Destination section to select a printer. Use the Pages option to determine which pages to print and use the Layout option to change the orientation of the document before printing. Click the More settings option arrow to display options for changing paper size; determining how many pages of the document to print per sheet; changing the margins and scale of the document displayed on the page; and determining whether to include headers, footers, and background graphics when printing the document.
 Success Tip
If you choose not to print a document from the Print window area, click the Cancel button to return to the editing screen.
How to Complete a Document Activity
This document will guide you through the process of completing a document activity in Paradigm’s Keyboarding Online Lab.
- Log into the Keyboarding Online Lab and navigate to your Document Activity.
- Before launching the Document Activity, read the instructions for the activity in your text or eBook and review the content to be keyed. Previewing the activity will help you complete it quickly and accurately.
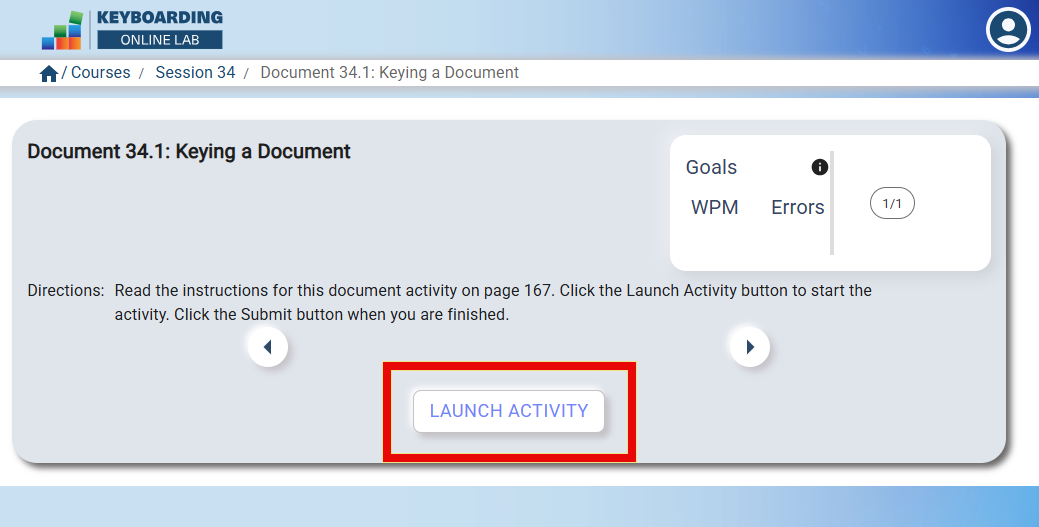
- When you have read the instructions and placed the activity content so you can read it as you key, click Launch Activity.
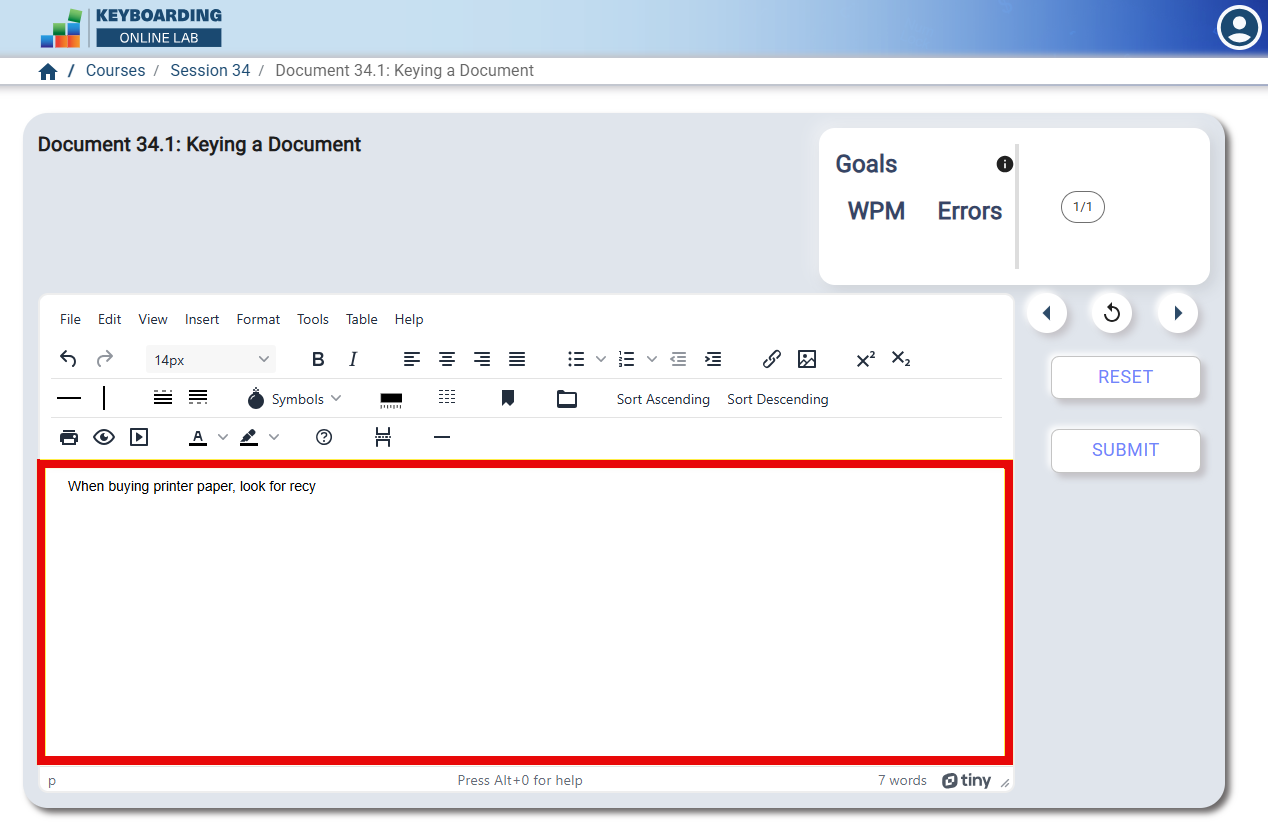
- Begin keying the content for your activity in the document formatting window.
TIPS- As you key the text, press the Backspace key immediately to correct errors that you ‘feel’ but do not take time to check your screen as you key.
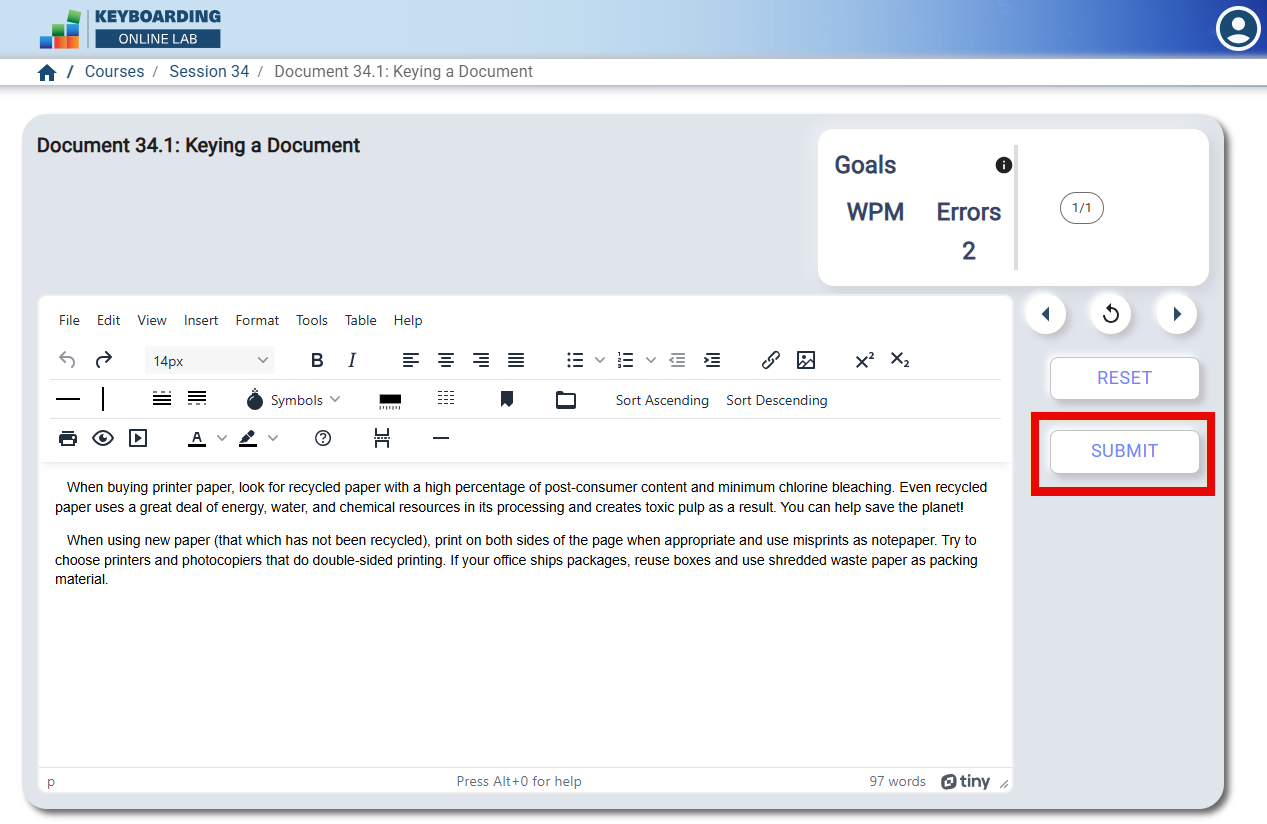
- When you finish, read your document on the screen to look for any errors you may have missed. If you see an error, correct it.
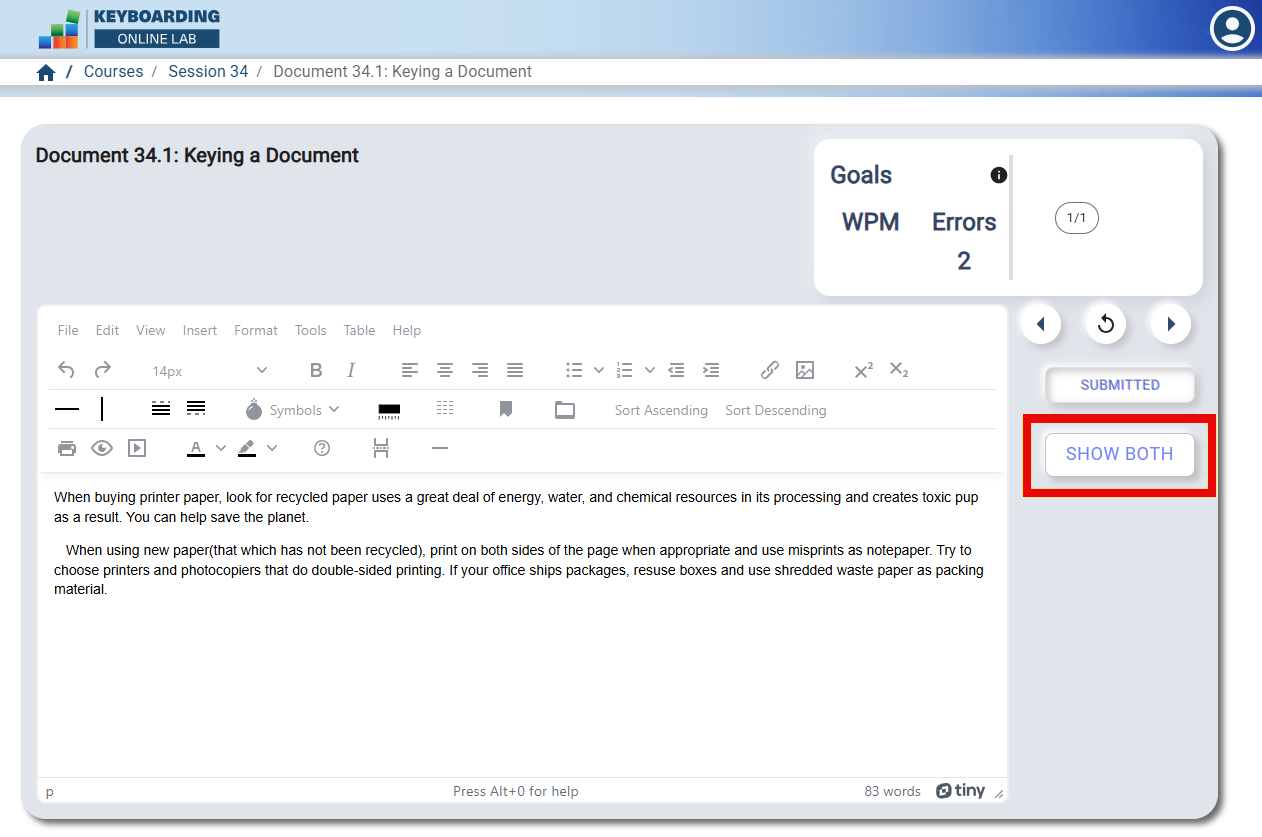
- Select Submit to upload your document activity for checking.
- Select Show Both to view the submitted and model documents.
- In this view, the number of errors, words per minute, and percentage will appear in the center of the screen between the two documents. The model document on the right will highlight the errors made.

- If you would like to edit and resubmit (and your instructor allows more than one attempt to get a grade for your document activity), click New Graded Attempt, which is the circular arrow icon in the center of your screen. This will take you back to the Launch Activity page where you can then Launch Activity, edit your document, and click Submit.

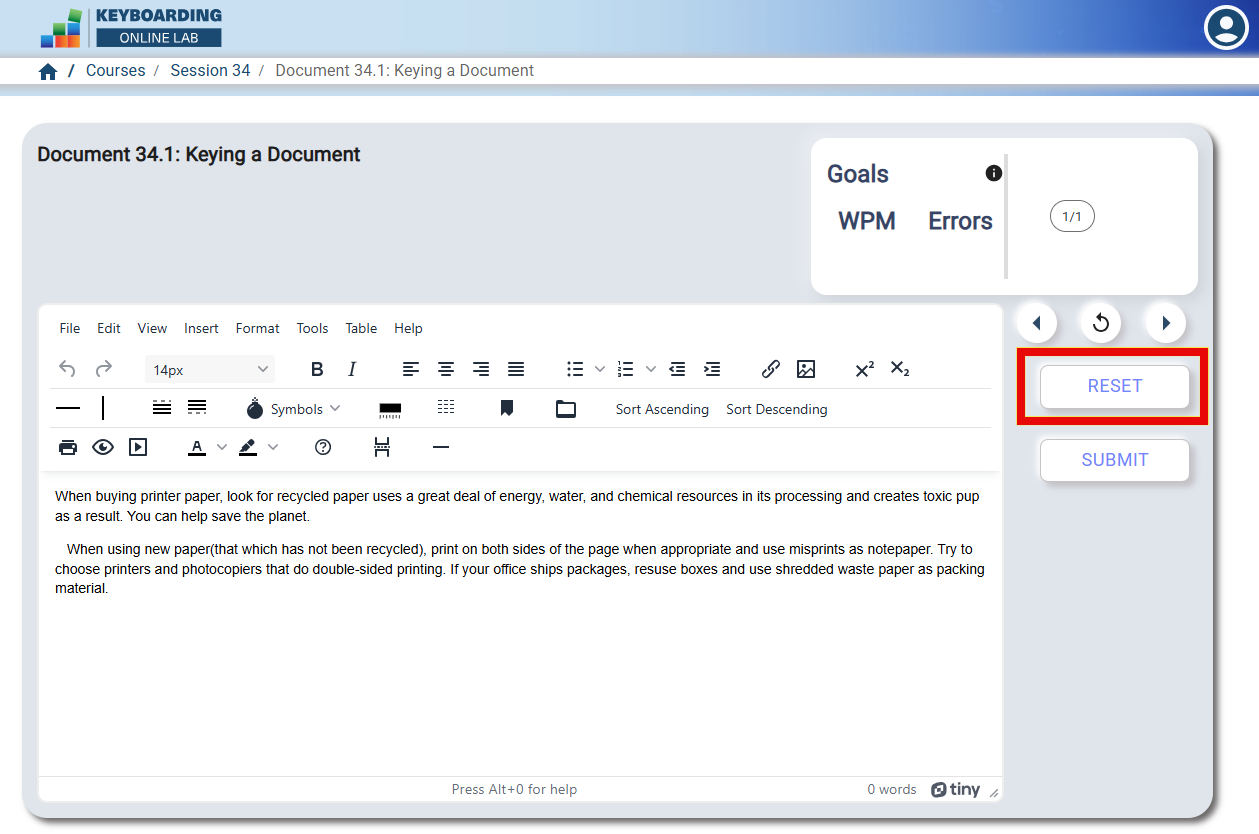
- If you would like to start completely over, select Reset to clear your current document. Then re-key the content and Submit when you are done.
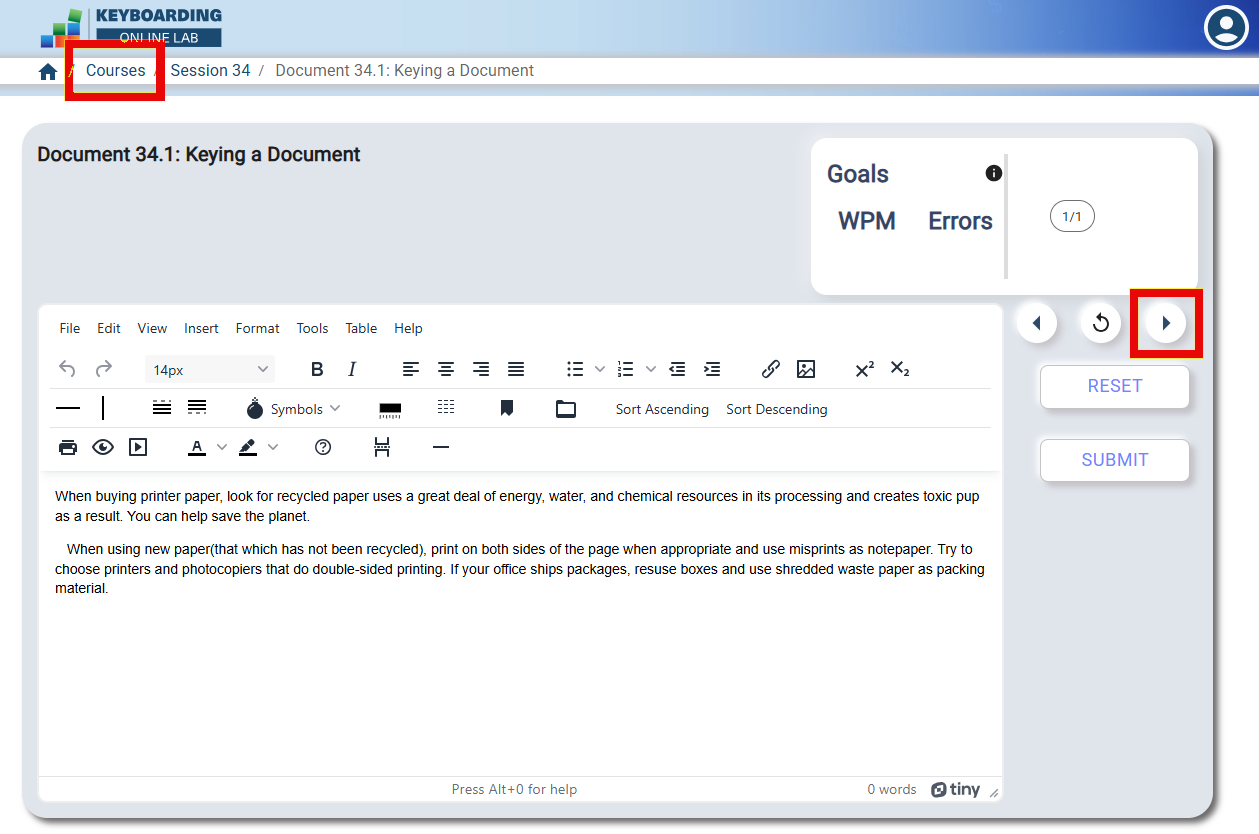
- When you are ready to move on from this activity, use the arrow to navigate to the next activity, or select Courses at the top left of your window to return to the Course Menu.
Viewing the Document Performance Report for Completed Document Activities
The Online Lab provides a report showing the results of all of the document activities completed in the Online Lab. To view your Document Performance report showing the document activity work you completed for Session 34, complete the following steps:
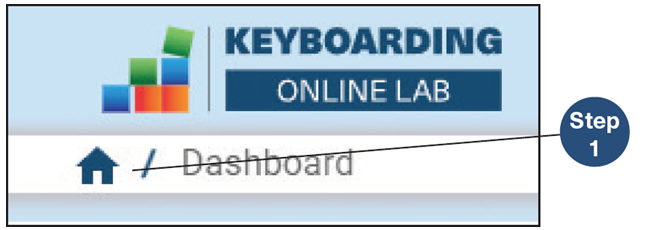
Click the House icon in the upper left corner of the screen to open the Online Lab Dashboard page and Navigation pane.
Click Reports in the Navigation pane.

- Click Document Performance Report to open the report. The report displays in a table that shows the submitted documents and the corresponding results documents for each attempt on each document activity.
Ending the Session
The Online Lab automatically saved the work you completed for this session. You may continue with the next session or exit the Online Lab and continue later.