NOTE: Before Taking the Skills Check
To complete a Cirrus Skill Check exam you must have a computer that is connected to the internet with an upload speed of at least 512 kbps. Your browser MUST be up to date and have the popup blocker turned OFF for the following websites:
https://www.pescirrus.com/
https://lti.pescirrus.com/
https://chcm.pescirrus.com/
https://key7e2019.pescirrus.com/
Launching a Skills Check Exam
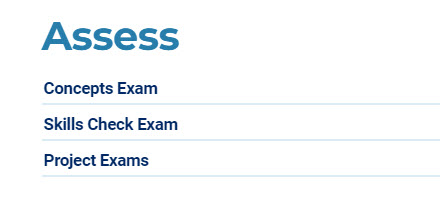
- Under each section is an Assess header. Select Skills Check Exam.
- Select Launch Skills Check Exam.

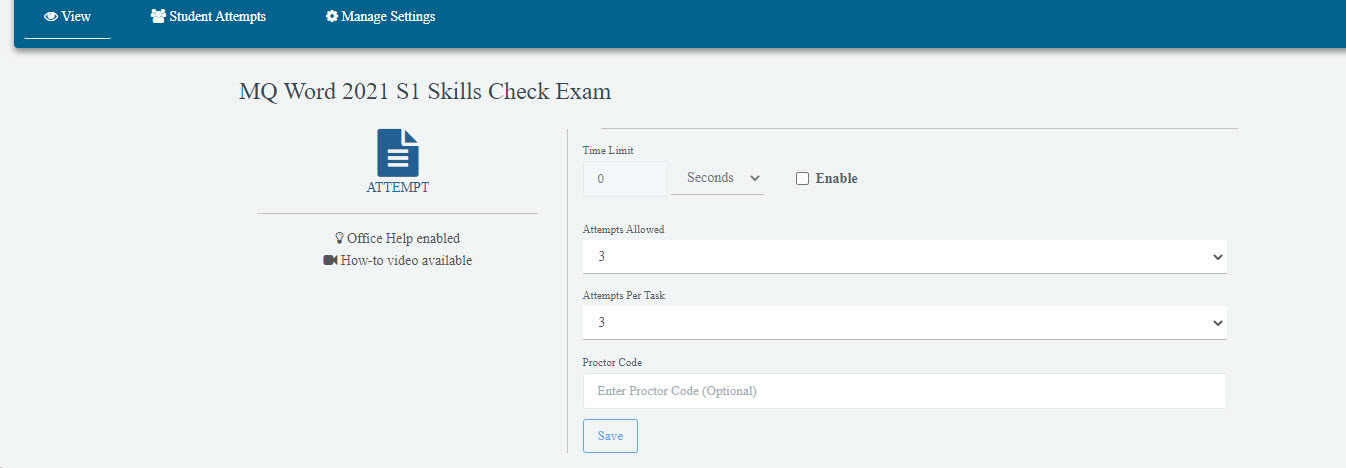
- Select the Attempt button.
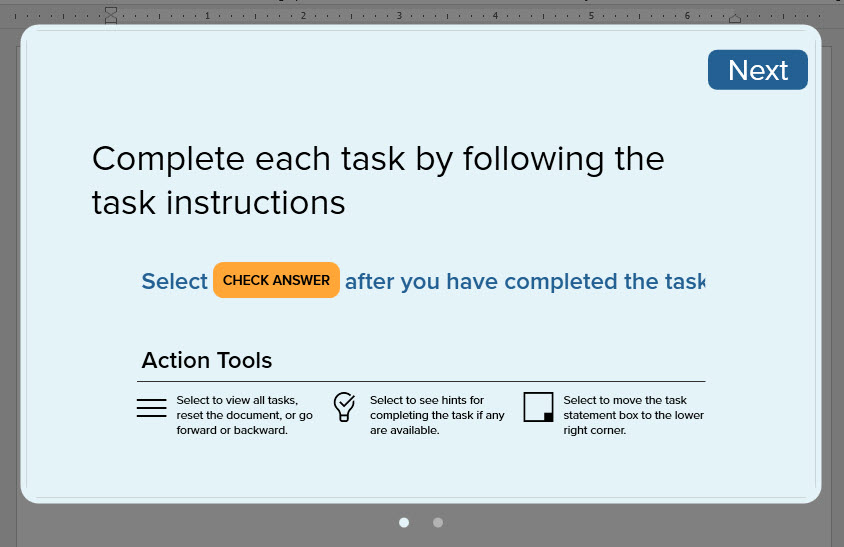
- Your exam will launch with a window displaying task instructions and Action Tools. Select Next.
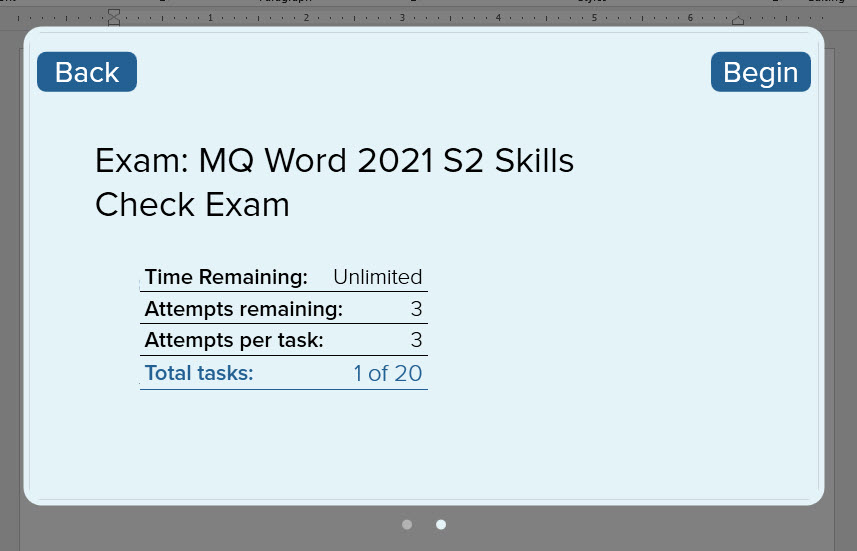
The next screen will display the total tasks and exam data. Select Begin.
Completing a Skills Check Exam
-
The exam opens with a Task Instructions window displayed in the middle of the screen. This window displays the current task and the Office document is active behind the Task Instructions window.
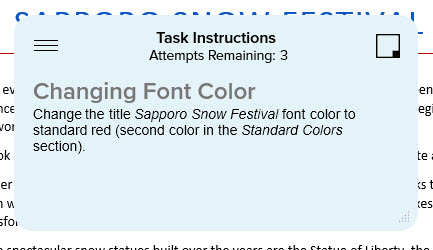
Features of the Task Instructions Window:
Moving the Task Instructions Window
To move the window so you can edit the Office document,![]() select the top of the box and drag it to a different location on the screen. You can also quickly move the window to the bottom right corner of your screen by selecting the square icon.
select the top of the box and drag it to a different location on the screen. You can also quickly move the window to the bottom right corner of your screen by selecting the square icon.
Adjusting the Size of the Task Instructions Window
The window’s height and width can be adjusted. Select and hold the bottom right corner of the window and drag the mouse around until the window fits your workspace.
- After completing a task, select the Check Answer button at the top of the screen.

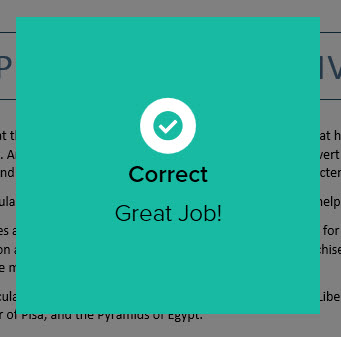
If your answer was correct, you will see the following message displayed
and you will automatically move to the next task.
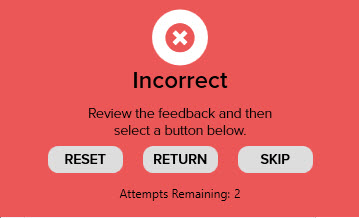
If your answer was incorrect, you will see the following message if you have attempts remaining.
During the check answer process, a completion status will display and will insert feedback in a Review Document. This process takes a few seconds to complete
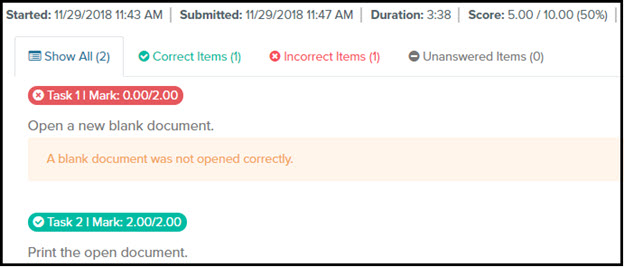
In the review document displayed, the activity lists what mistakes were made and, where appropriate, placed in the document where your mistakes were made. (Note: this is a review document, not the document on which you made changes. You cannot make changes to the review document.)
If you have attempts remaining for this item, you have three options: Reset, Return, and Skip.
• Selecting Reset opens the item’s document as it was before you made any changes. You can start over, make all the needed changes, and then select Check Answer. This will consume an attempt.
• Selecting Return reopens the item’s document with the changes you made to it before you click Check Answer. You can update the submitted item’s document and then select Check Answer. This will consume an attempt.
• Selecting Skip will move you to the next skill item in the activity.
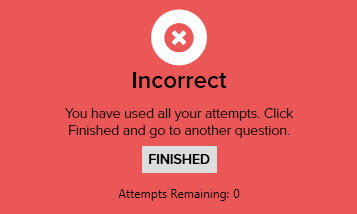
• If you do not have attempts remaining for the item, the Skill Check will display a message indicating there are no more attempts and a Finished button will be available. Selecting the Finished button will close the attempts for the Skill Check task and advance to the next task.
The control box (upper right):
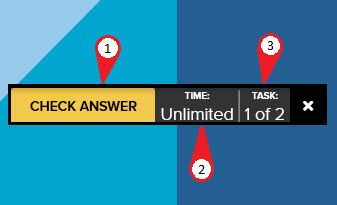
1. Check Answer – Button that checks the current skill item for mistakes.
2. Time – The remaining time for the entire exam.
3. Task – the task
- When you have completed all of the exam items, the Skill Check will automatically return you to your course. You will see an exam results page showing your score for each item. This includes feedback for incorrect items.
Design Ribbon Title Repeatedly Redisplaying
Selecting the Design ribbon while working on an Office application will sometimes cause the Theme Titles to repeatedly redisplay, preventing access to ribbon functions.
To stop the Titles from repeatedly redisplaying:
- Begin with the exam’s virtual desktop open at full screen. Click the Fullscreen button if necessary.

- Select the Design tab in the Office application to make it active.

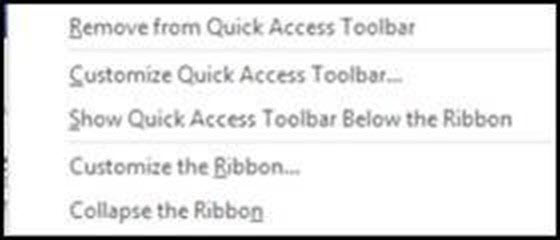
- Right-click anywhere on the Office application’s Quick Access Toolbar.

- With the Customize Quick Access Toolbar drop-down list open, type C or select the Customize Quick Access Toolbar command.
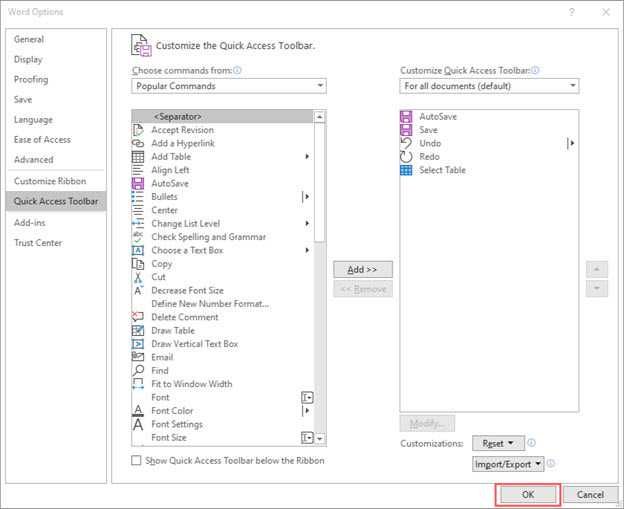
- In the Quick Access Toolbar section of the Word Options dialog box, press Enter or select the OK button. (You don’t need to make any changes.)
The Titles should now stop rolling.
Still having trouble?
Visit https://help.kendallhunt.com/student-portal and use our chat support to connect with our technical support team


