


How to Set Up Paradigm ShiftED with Canvas
Before You Start
You’ll need to have teacher level access on Paradigm ShiftED and Admin access on Canvas, or work with someone who does have Canvas Administrator access.
You need to have the course set up both on Paradigm ShiftED and on Canvas.
The connection between Canvas and ShiftED is LTI 1.3 with Deep Linking.
Be aware that the integrated assignments will need to be published on Canvas for students to access them.
Once the class starts, students will need to be registered in the Canvas class that corresponds with the Paradigm ShiftED course for grades to sync correctly.
The Canvas Developer Key only needs to be set up on Canvas ONCE, regardless of how many Paradigm ShiftED publications or classes are set up. However, each class needs its own app and links.
Register for Gradebook Sync must be configured for each class on ShiftED that you want to sync to Canvas.
Grades do not automatically synchronize between Paradigm ShiftED and Canvas. For grades to synchronize, the teacher must run Sync Grades from Paradigm ShiftED.
As a Teacher on Paradigm ShiftED – Download the LTI Configuration
- Go into your ShiftED class.
- Download the JSON from your class by clicking the Download LTI Config button.
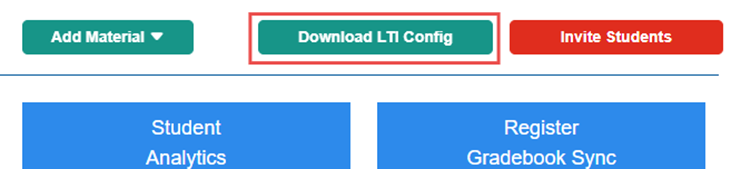
- This will automatically download a file named lti_config.json to your Downloads folder.
- Send the JSON file and these instructions to your Canvas Administrator.
As a Canvas Administrator – Create the Developer Key
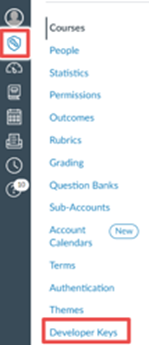
- Log in to Canvas as an Administrator and click Admin from the left navigation column.
- Click on the Developer Keys link on the left-hand menu.
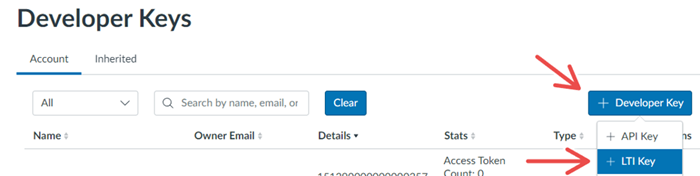
- On the Developer Keys page, click the +Developer Key button on the top right and then select the +LTI Key from the dropdown.
- Enter “Paradigm ShiftED Link” in the Key Name field.
- Change the Method to Paste JSON.
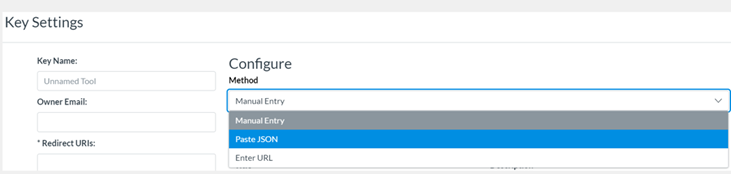
- Paste this URL in the Redirect URI: https://pes.pesshifted.com/lti/launch
- This is case sensitive, so please make sure to copy/paste.
- Paste the JSON the teacher sent (file named lti_config.json – open it with a text editor like Notepad) into the LTI 1.3 Configuration box.
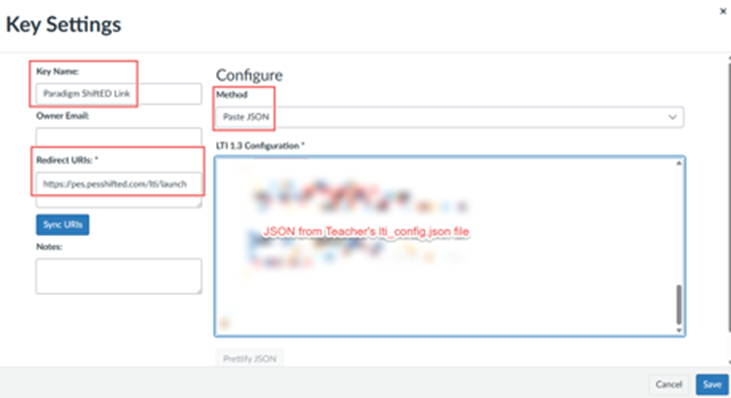
- Click Save to save the new Developer Key.
- Enable the new key by changing the State to On (it will turn green). You will be asked to confirm that you want to change the state of the Developer Key. Click OK to continue.

- Click Edit (the pencil icon) on the Developer Key that you just created.

- Review the settings by scrolling down the page to view each section. You may need to expand sections.
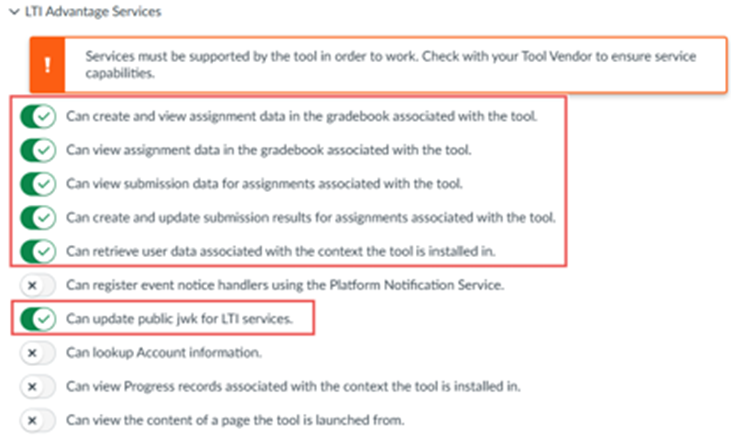
LTI Advantage Services
- You may see the message “Services must be supported by the tool in order to work. Check with your Tool Vendor to ensure service capabilities.” This is expected. We support these capabilities.
These options should be turned On:
Can create and view assignment data in the gradebook associated with the tool.
- Can view assignment data in the gradebook associated with the tool.
- Can view submission data for the assignments associated with the tool.
- Can retrieve user data associated with the context the tool is in.
- Can update public jwk for LTI services.
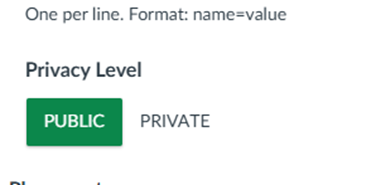
Additional Settings
- Privacy Level = Public

Placements
- Tool Configuration, Assignment Selection, Course Navigation, and Link Selection should be set up as Placements.
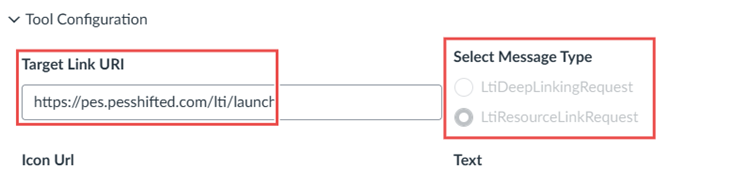
Tool Configuration
- Target Link URI: https://pes.pesshifted.com/lti/launch
- Select Message Type = LtiResourceLinkRequest

Assignment Selection
- Target Link URI: https://pes.pesshifted.com/lti/launch
- Select Message Type = LtiResourceLinkRequest

Course Navigation
- Target Link URI: https://pes.pesshifted.com/lti/launch
- Select Message Type = LtiResourceLinkRequest
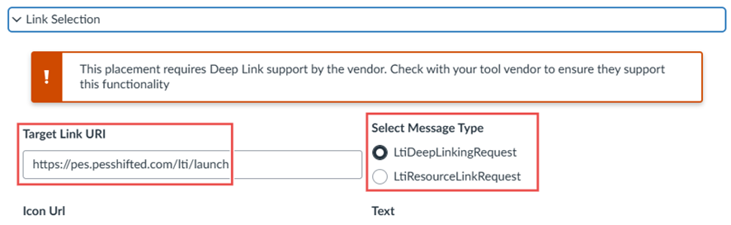
Link Selection
- You may see a message saying “This placement requires Deep Link support by the vendor. Check with your tool vendor to ensure they support this functionality.” This is expected and we do support Dep Linking.
- Target Link URI: https://pes.pesshifted.com/lti/launch
- Select Message Type: LtiDeepLinkingRequest
- Click Save after confirming the settings.
- You’ll be returned to the Developer Keys page. The Details column contains the Client ID. Copy the Client ID of the key you just added.
- Your Client ID will be different than the one shown here.

- Click the Settings link in the left-hand menu column to proceed with the next step – creating the new App.
As a Canvas Administrator – Create the App
- On the Settings page, click the Apps tab at the top of the page and then click the View App Configurations button in the top right corner.

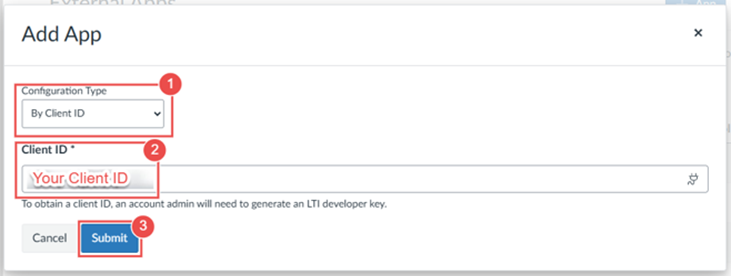
- Click the +App button.

- Change the Configuration Type to By Client ID and then paste in the Client ID that you copied from the Developer Keys page. Then click Submit.
- You will be asked to confirm that you want to install the tool. Click Install.
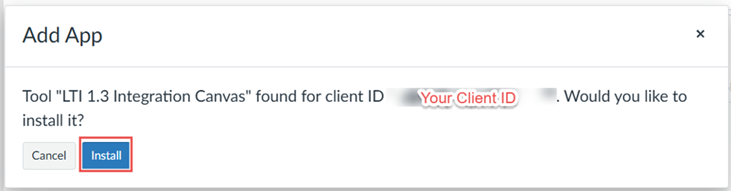
- A confirmation message will display that the app has been installed.
- Send the following information to the teacher using Paradigm ShiftED:
- Oauth ID: this is the ClientID from Canvas’ Developer Key
- Lms Base URI: this is the base URL of school’s Canvas.
- Do not enter any final forward slash.
- Example: https://yourschoolname.instructure.com
- External Course ID:
- The number from the class main page URL on Canvas.
- In this example, the External Course ID here is 749.

As a Teacher on Paradigm ShiftED – Register Gradebook Sync
- Go into your class on ShiftED.
- Click Register Gradebook Sync.
- Enter the requested information. You should have received this from your Canvas Administrator.
- Oauth ID: this is the ClientID from Canvas’ Developer Key
- Lms Base URI: this is the base URL of school’s Canvas, without any final forward slash.
- Example: https://yourschoolname.instructure.com
- External Course id: The number from the class’s main page URL on Canvas.
- Deployment ID (if visible): leave blank
- Enter the requested information. You should have received this from your Canvas Administrator.
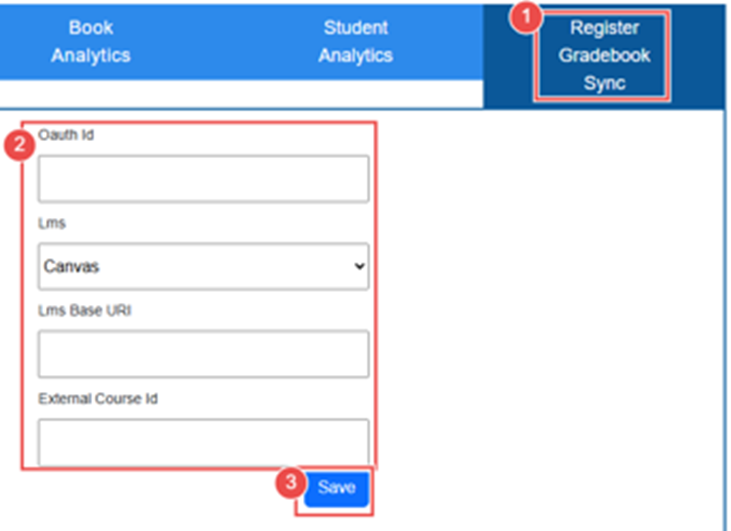
- Save the registry.
- Confirm the settings by using Show LTI Configuration.
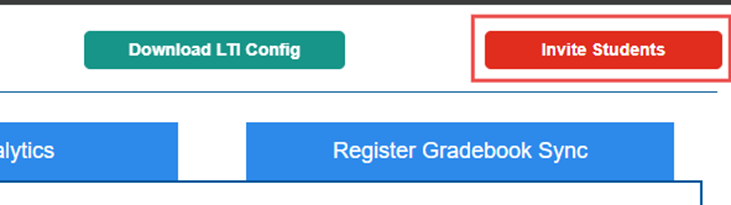
- Click on the Invite Students button in the upper-right corner.
- Click the Show LTI Configurations button.
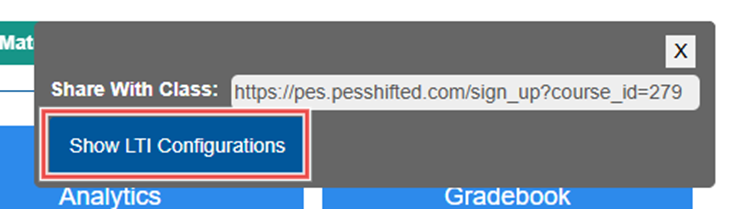
- The information should match what you entered in Register Gradebook Sync.

As a Teacher on Paradigm ShiftED – Pair Gradebooks
- Go into the class on ShiftED.
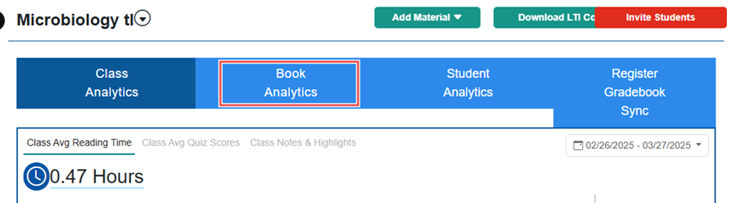
- Select Book Analytics tab.
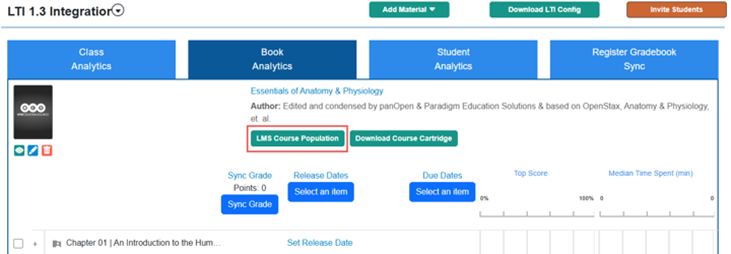
- Click the LMS Course Population button.
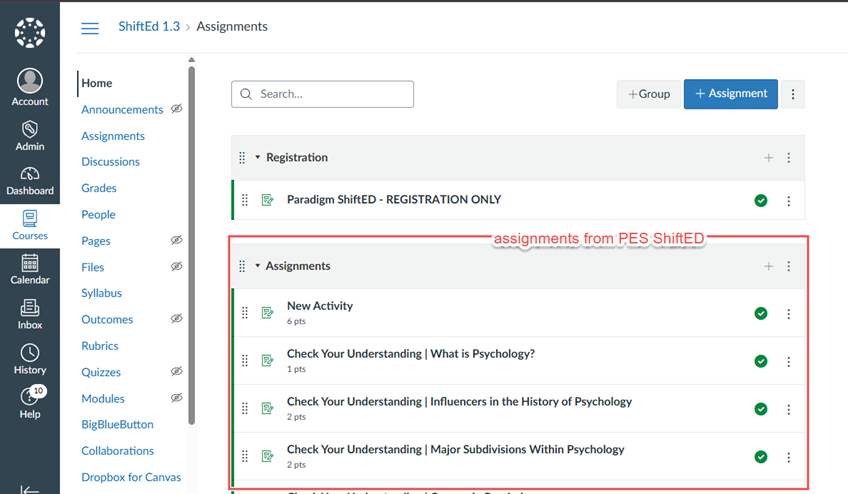
- This will populate the Paradigm ShiftED quizzes into the Assignment tab of the Canvas course named in External Course ID field in the ShiftED LTI Configuration.
- Depending on how many quizzes there are in the course, it might take a few minutes. There’s no progress indicator.
- This will populate the Paradigm ShiftED quizzes into the Assignment tab of the Canvas course named in External Course ID field in the ShiftED LTI Configuration.
- Go into your Canvas course and refresh the Assignments page – you’ll have assignments here to match all the graded items in ShiftED.
As a Teacher on Paradigm ShiftED – Sync Grades
ShiftED does not automatically synchronize with Canvas. The grades only pass back to Canvas when the teacher clicks the Sync Grades button on Paradigm ShiftED.
- Go into the course on ShiftED.
- Select the Book Analytics tab.

- Select the chapters you want to sync by checking the checkbox.
- Click Sync Grades.
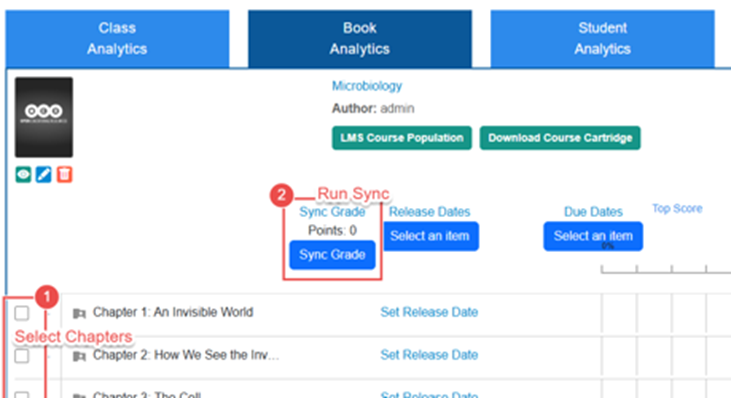
- Return to Canvas and access the class gradebooks. The assignment grades on Canvas should have updated to match ShiftED.