


The Management Dashboard
The Management Dashboard is were you can view/edit classes, setup new classes, view available licenses, and purchase/reorder licenses if need be. You can access this screen by clicking on “Management Dashboard” on the Main Dashboard screen.
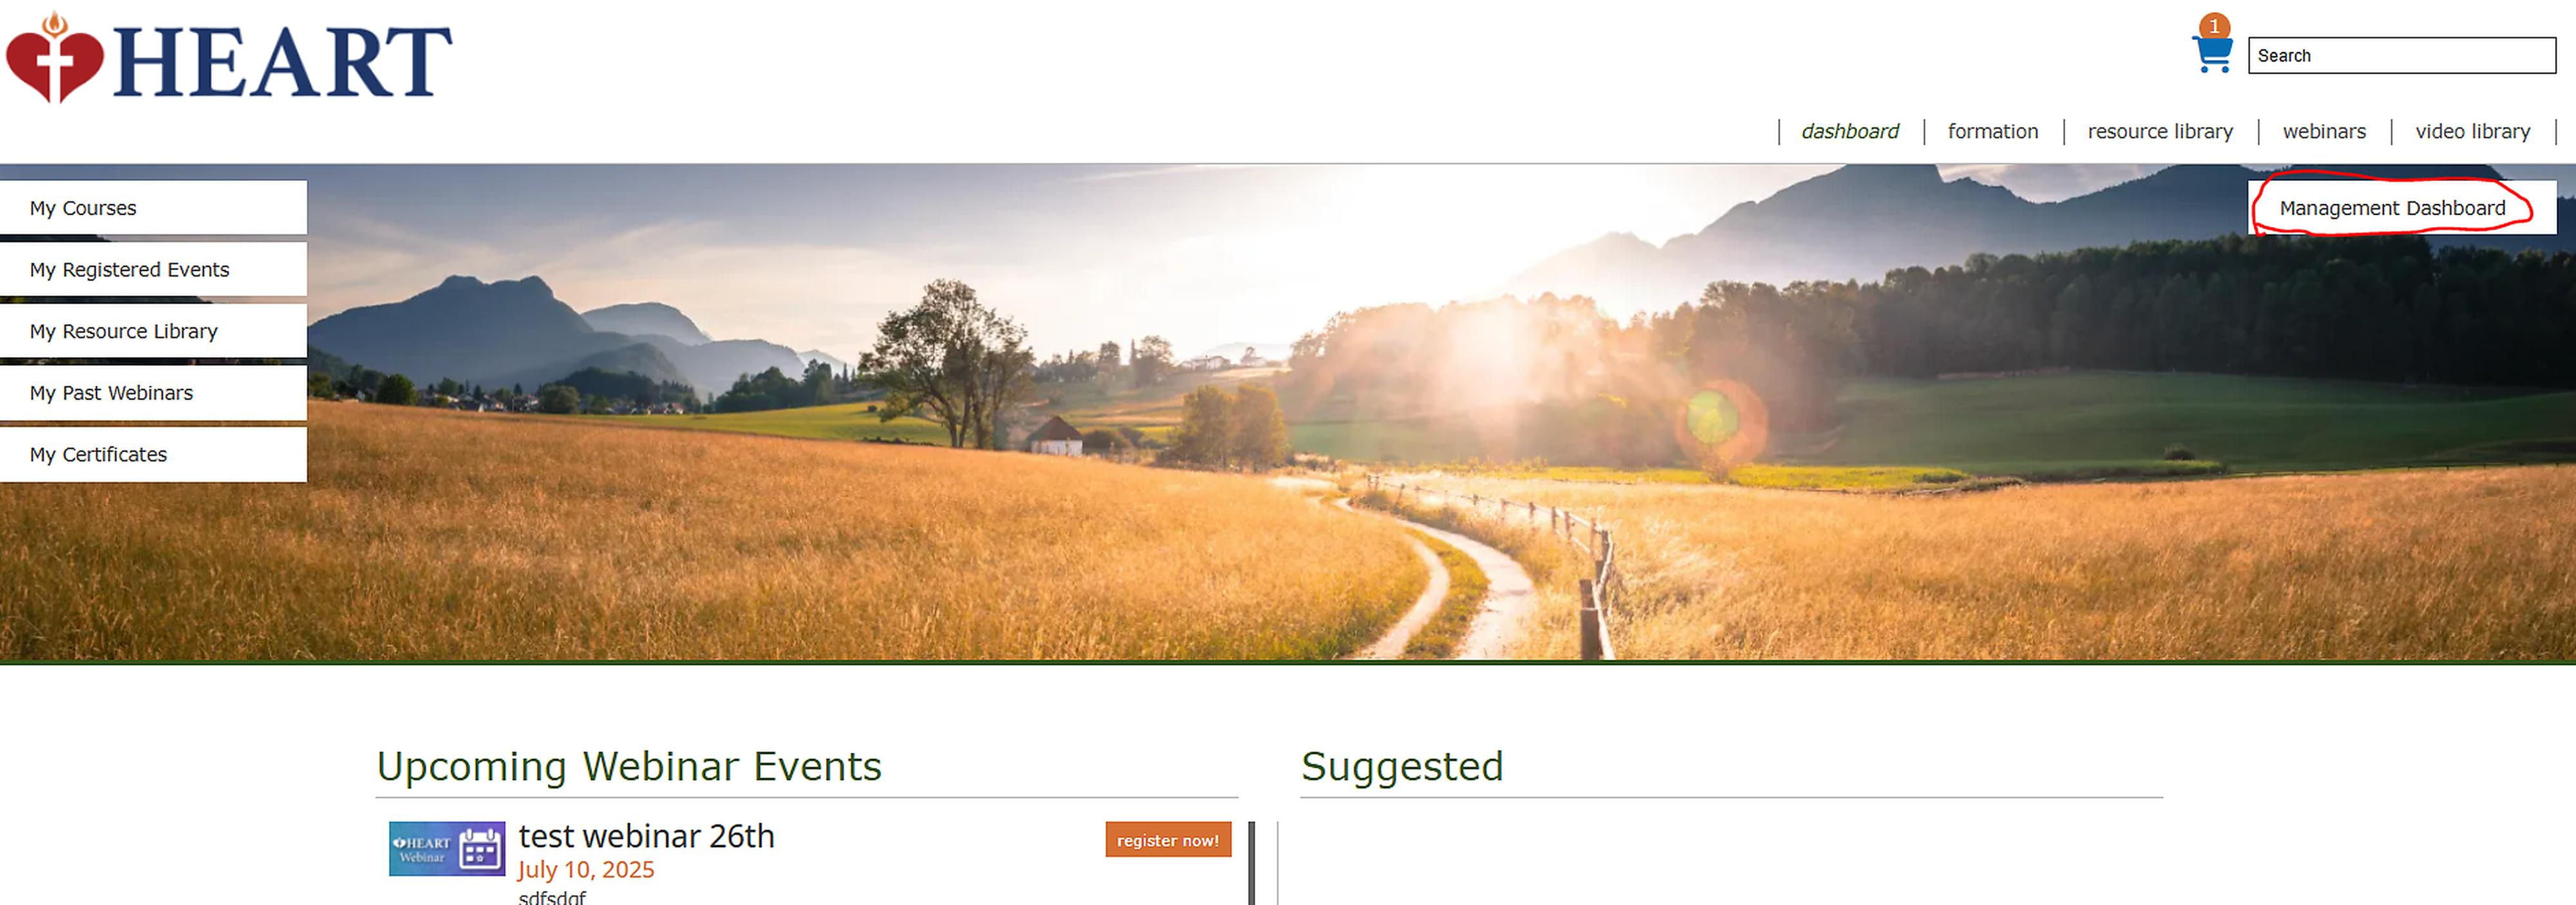
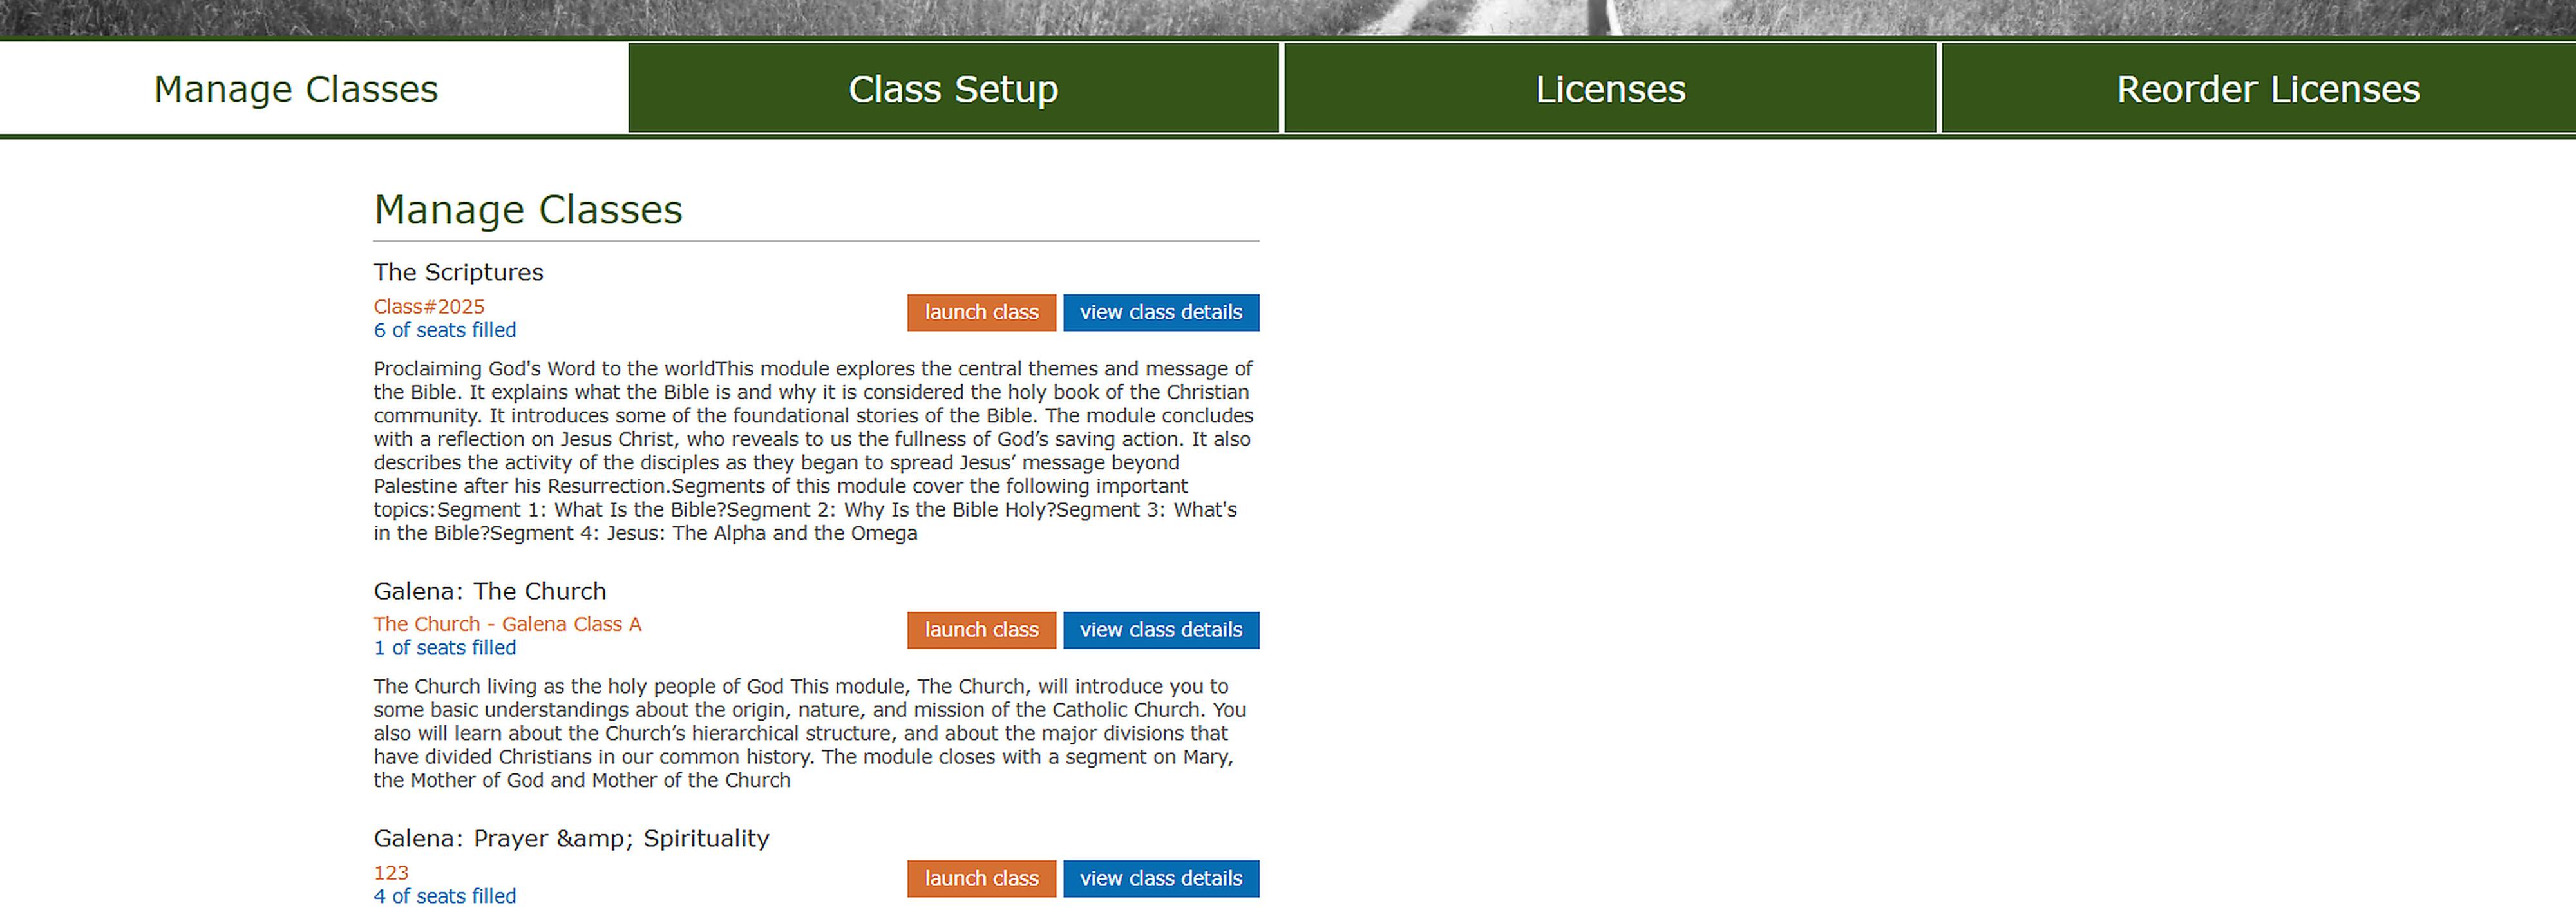
Once on the Management Dashboard, there will be 4 tabs to choose from. The first tab is Manage Classes. This will be where you can add/delete Facilitators(Teachers) associated to classes that have already been set up.
The next tab is Class Setup. Here you can create new classes and invite your initial Facilitator(Teacher).
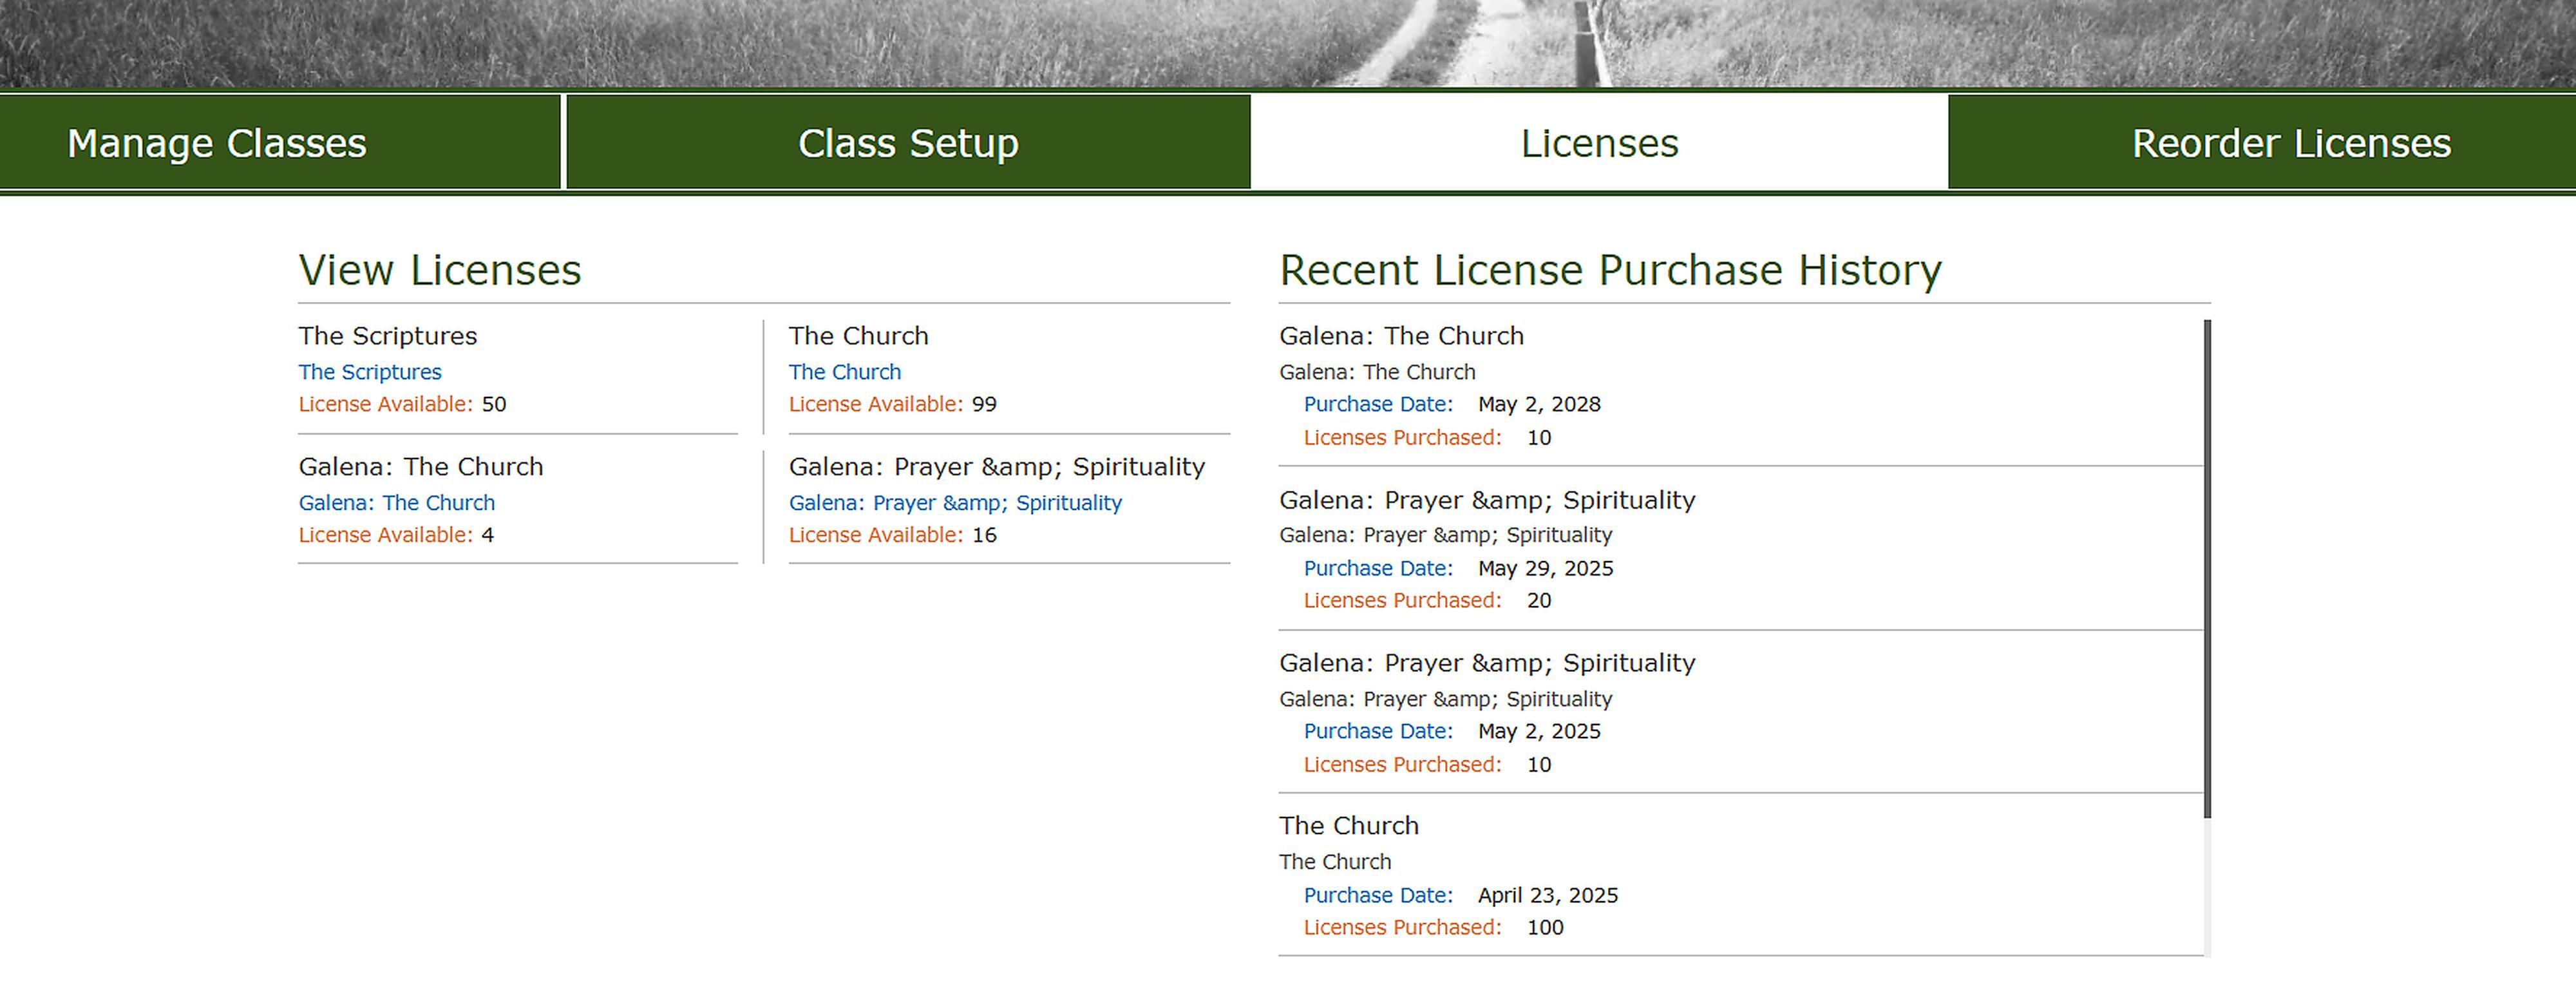
The third tab is the licenses that the Diocese has purchased and are available. You can also see the purchasing history for the licenses.
The Last tab is where you can go to repurchase/order new or more licenses.

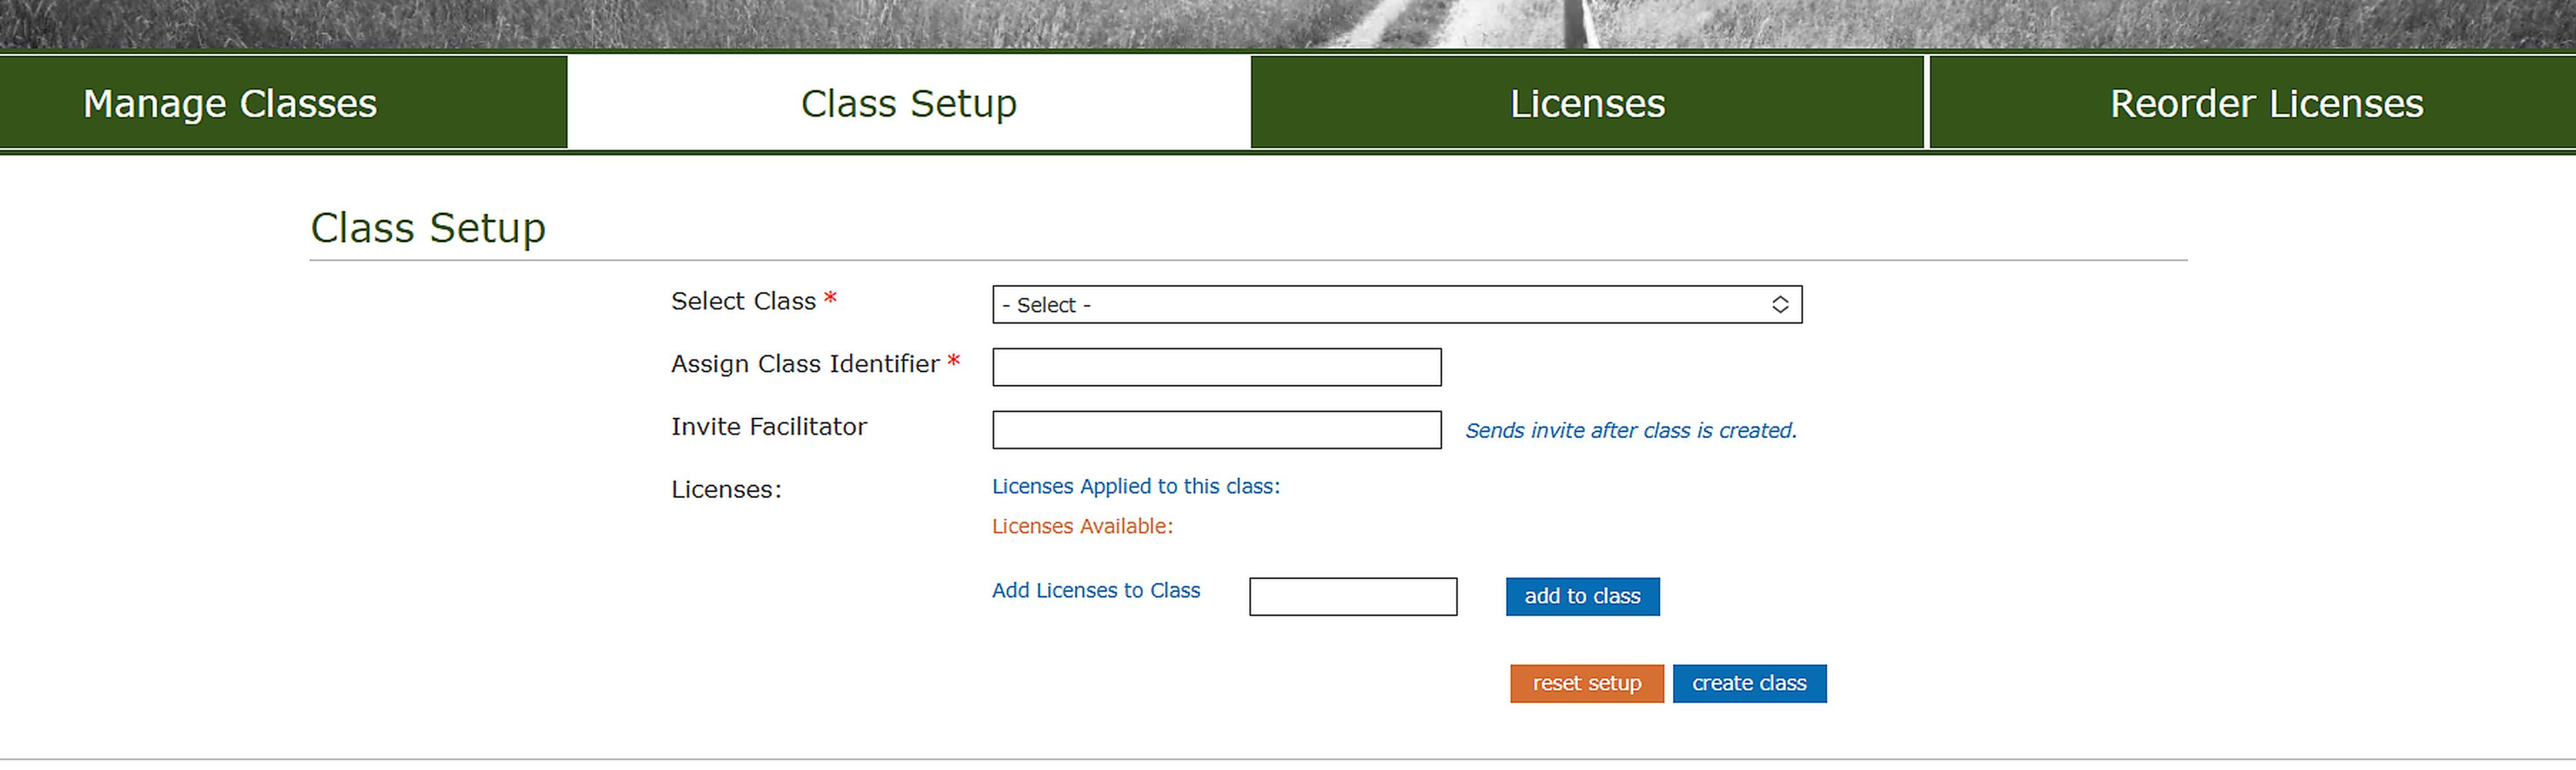
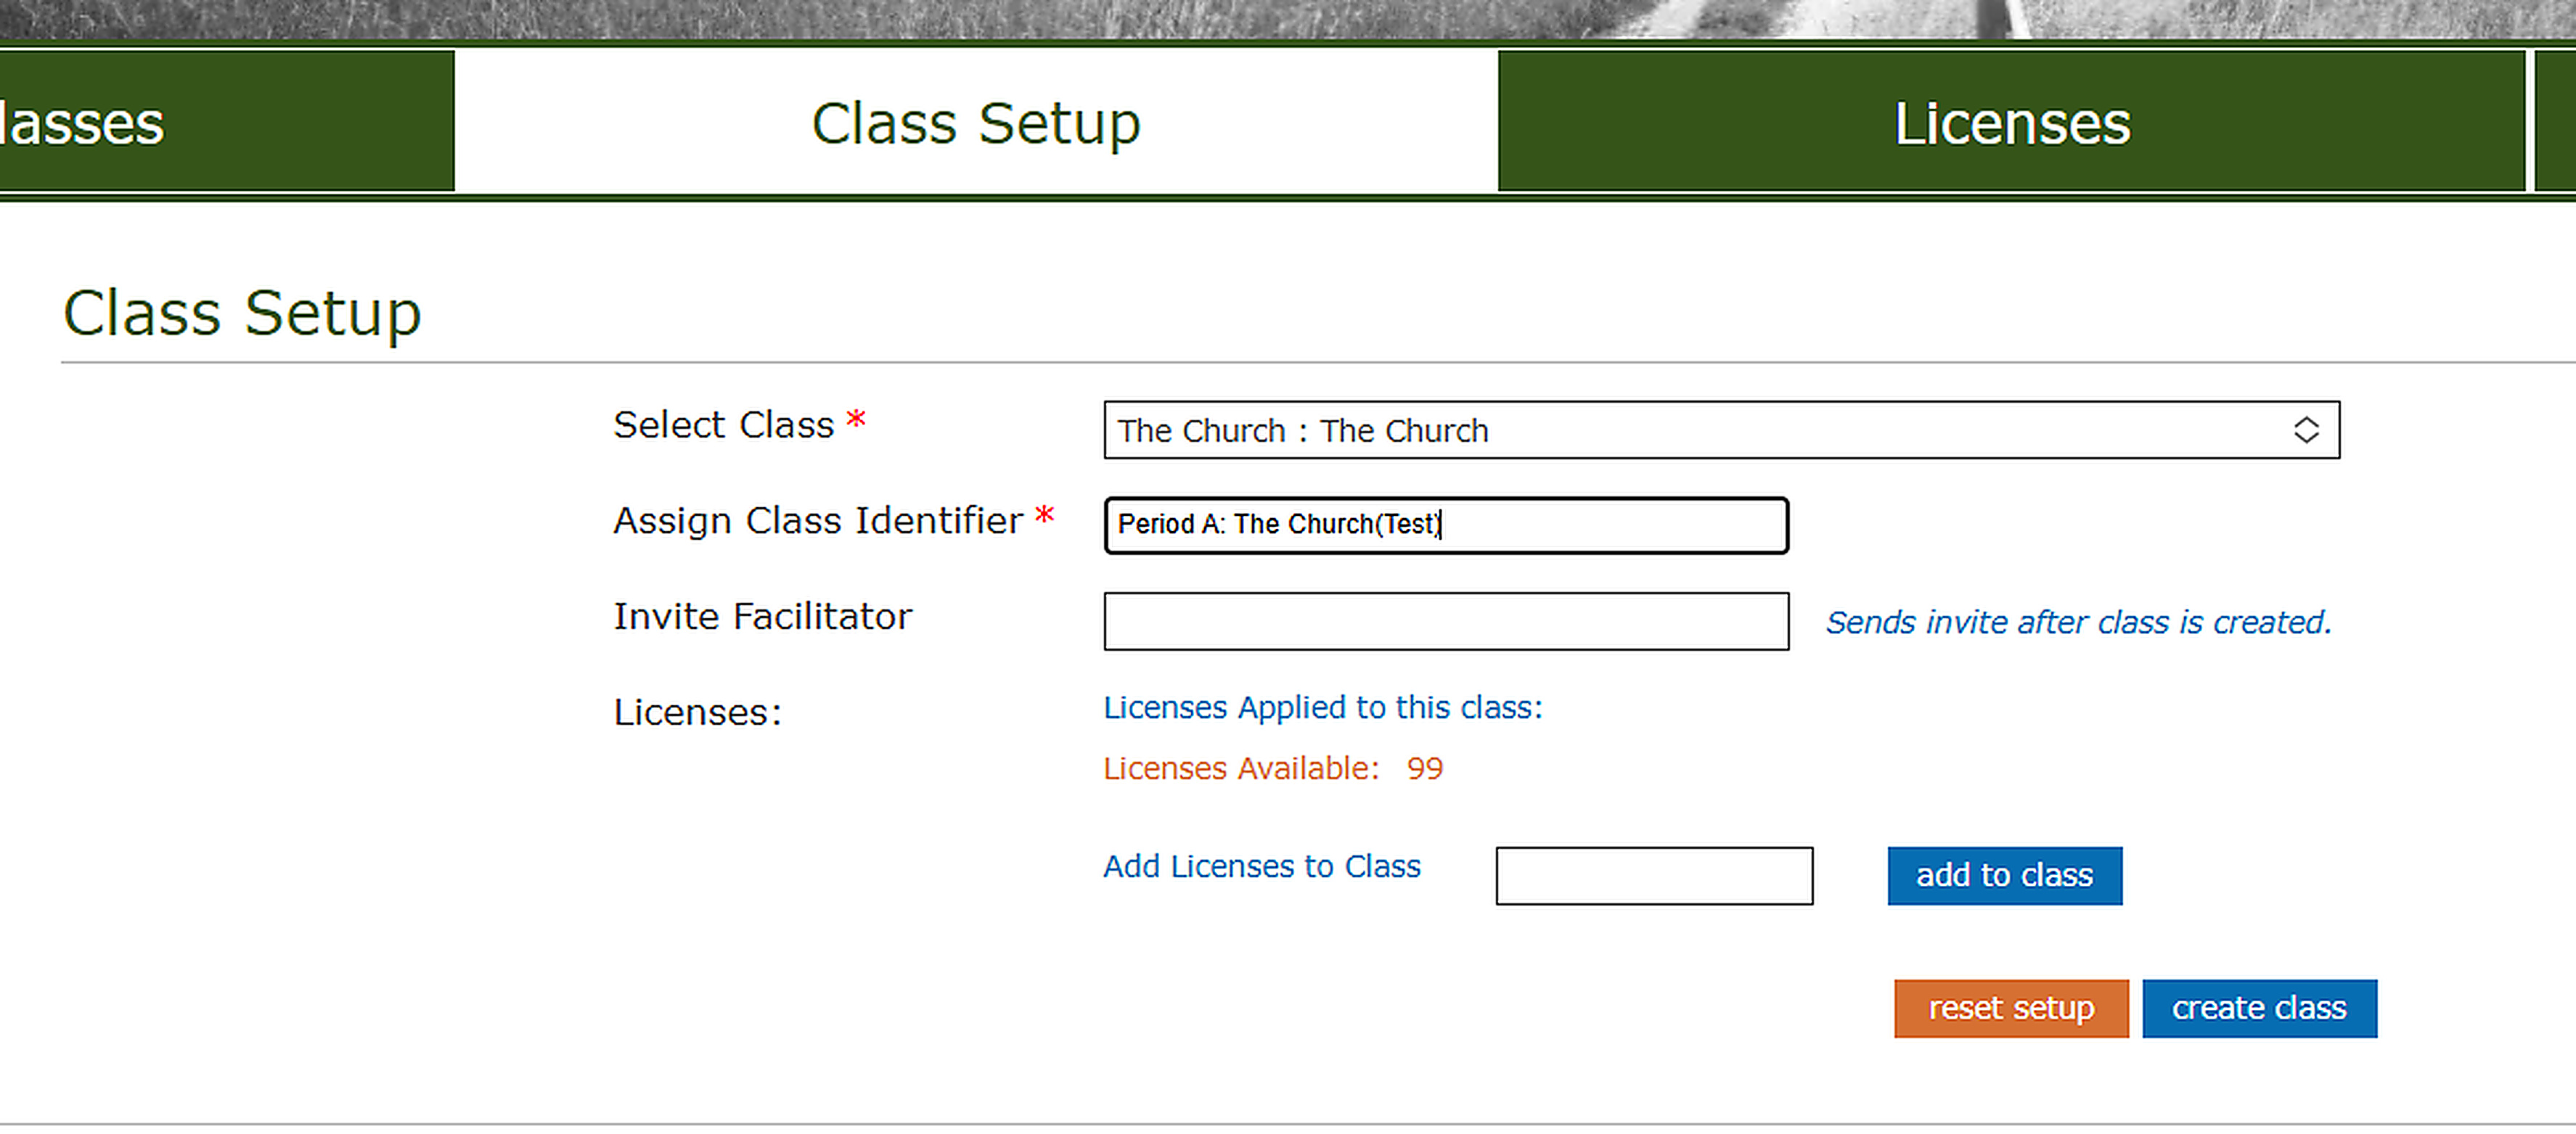
Class Setup
To set up a class you must first fill in the mandatory fields. These fields are marked with a red asterisk(*)
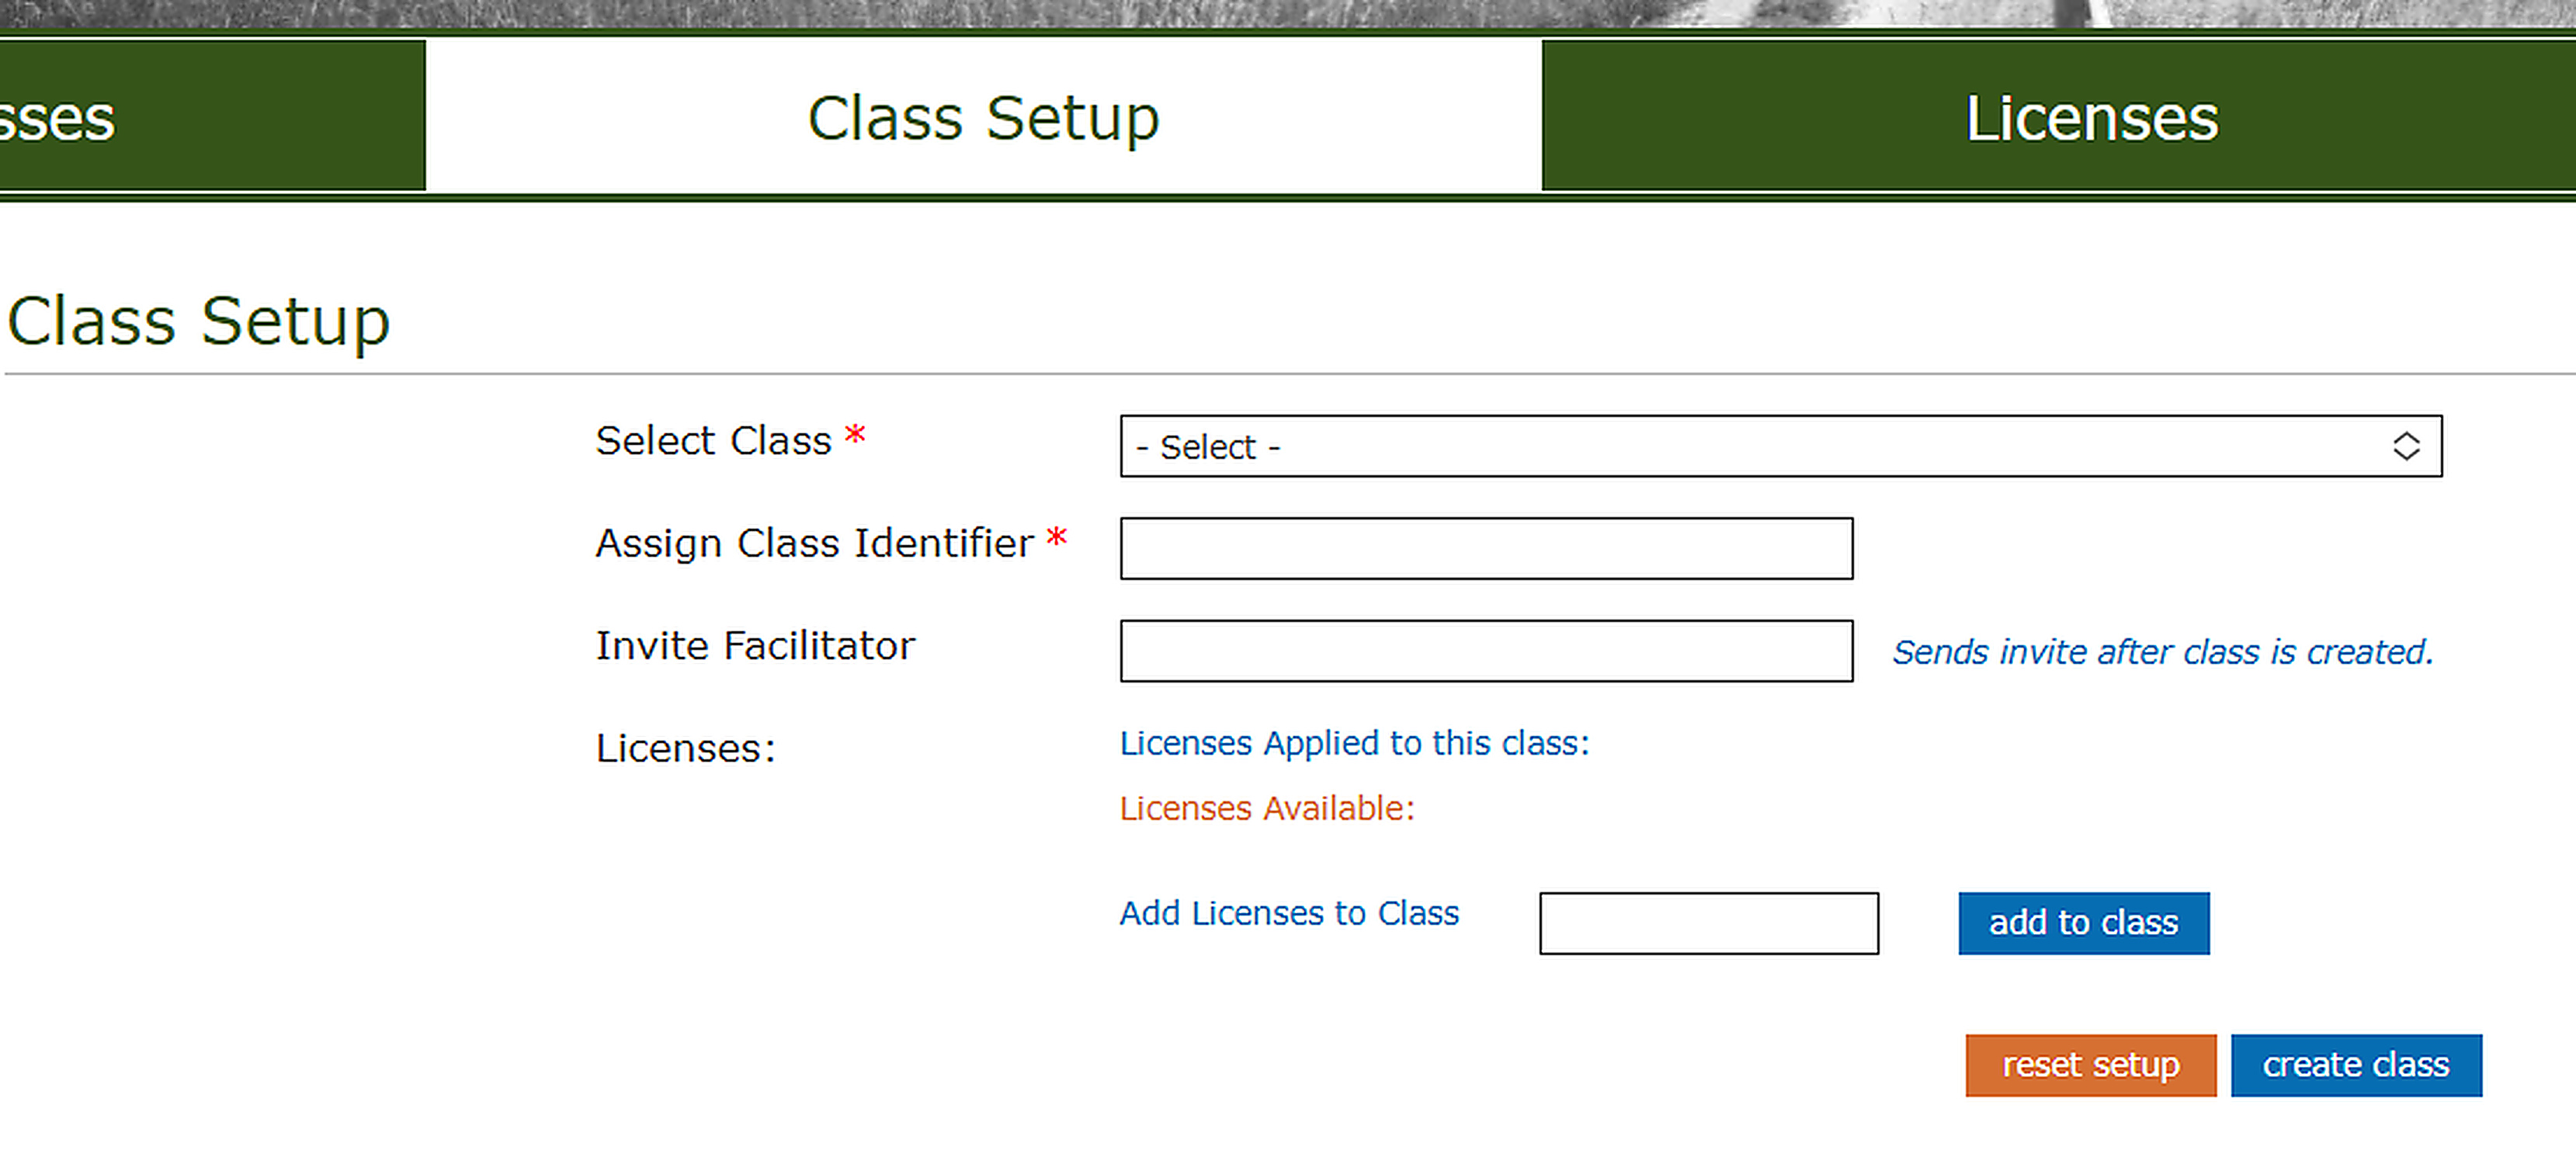
The Select Class drop down menu will have a list of classes that you have licenses for. Choose the class that you would like to create.

The Assign Class Identifier field is what you would like to name the class itself.
The last 2 fields are optional to enter.
If you chose to invite a Facilitator(Teacher) here, please make sure they have a HEART account and that you use the email address on their HEART account. If you are unsure who the Facilitator(Teacher) will be you can leave this option blank to be filled out later in the Manage Classes Tab.

You can also add the number of licenses to the class at this point. If you are unsure of the number of Learners(Students) that will be attending the class, you can leave the field blank and add the licenses later in the Manage Classes tab. If you do add the licenses here, please make sure to lick on “add to class” before clicking on “create class”.

Manage Classes
Once a class has been created, a Diocese Admin can then go to the Manage Classes tab. Here the Admin can find the class they would like to make changes to. Once they have found the class they can click on “view class details” to make changes to the class. This will open “Manage Class Details”.
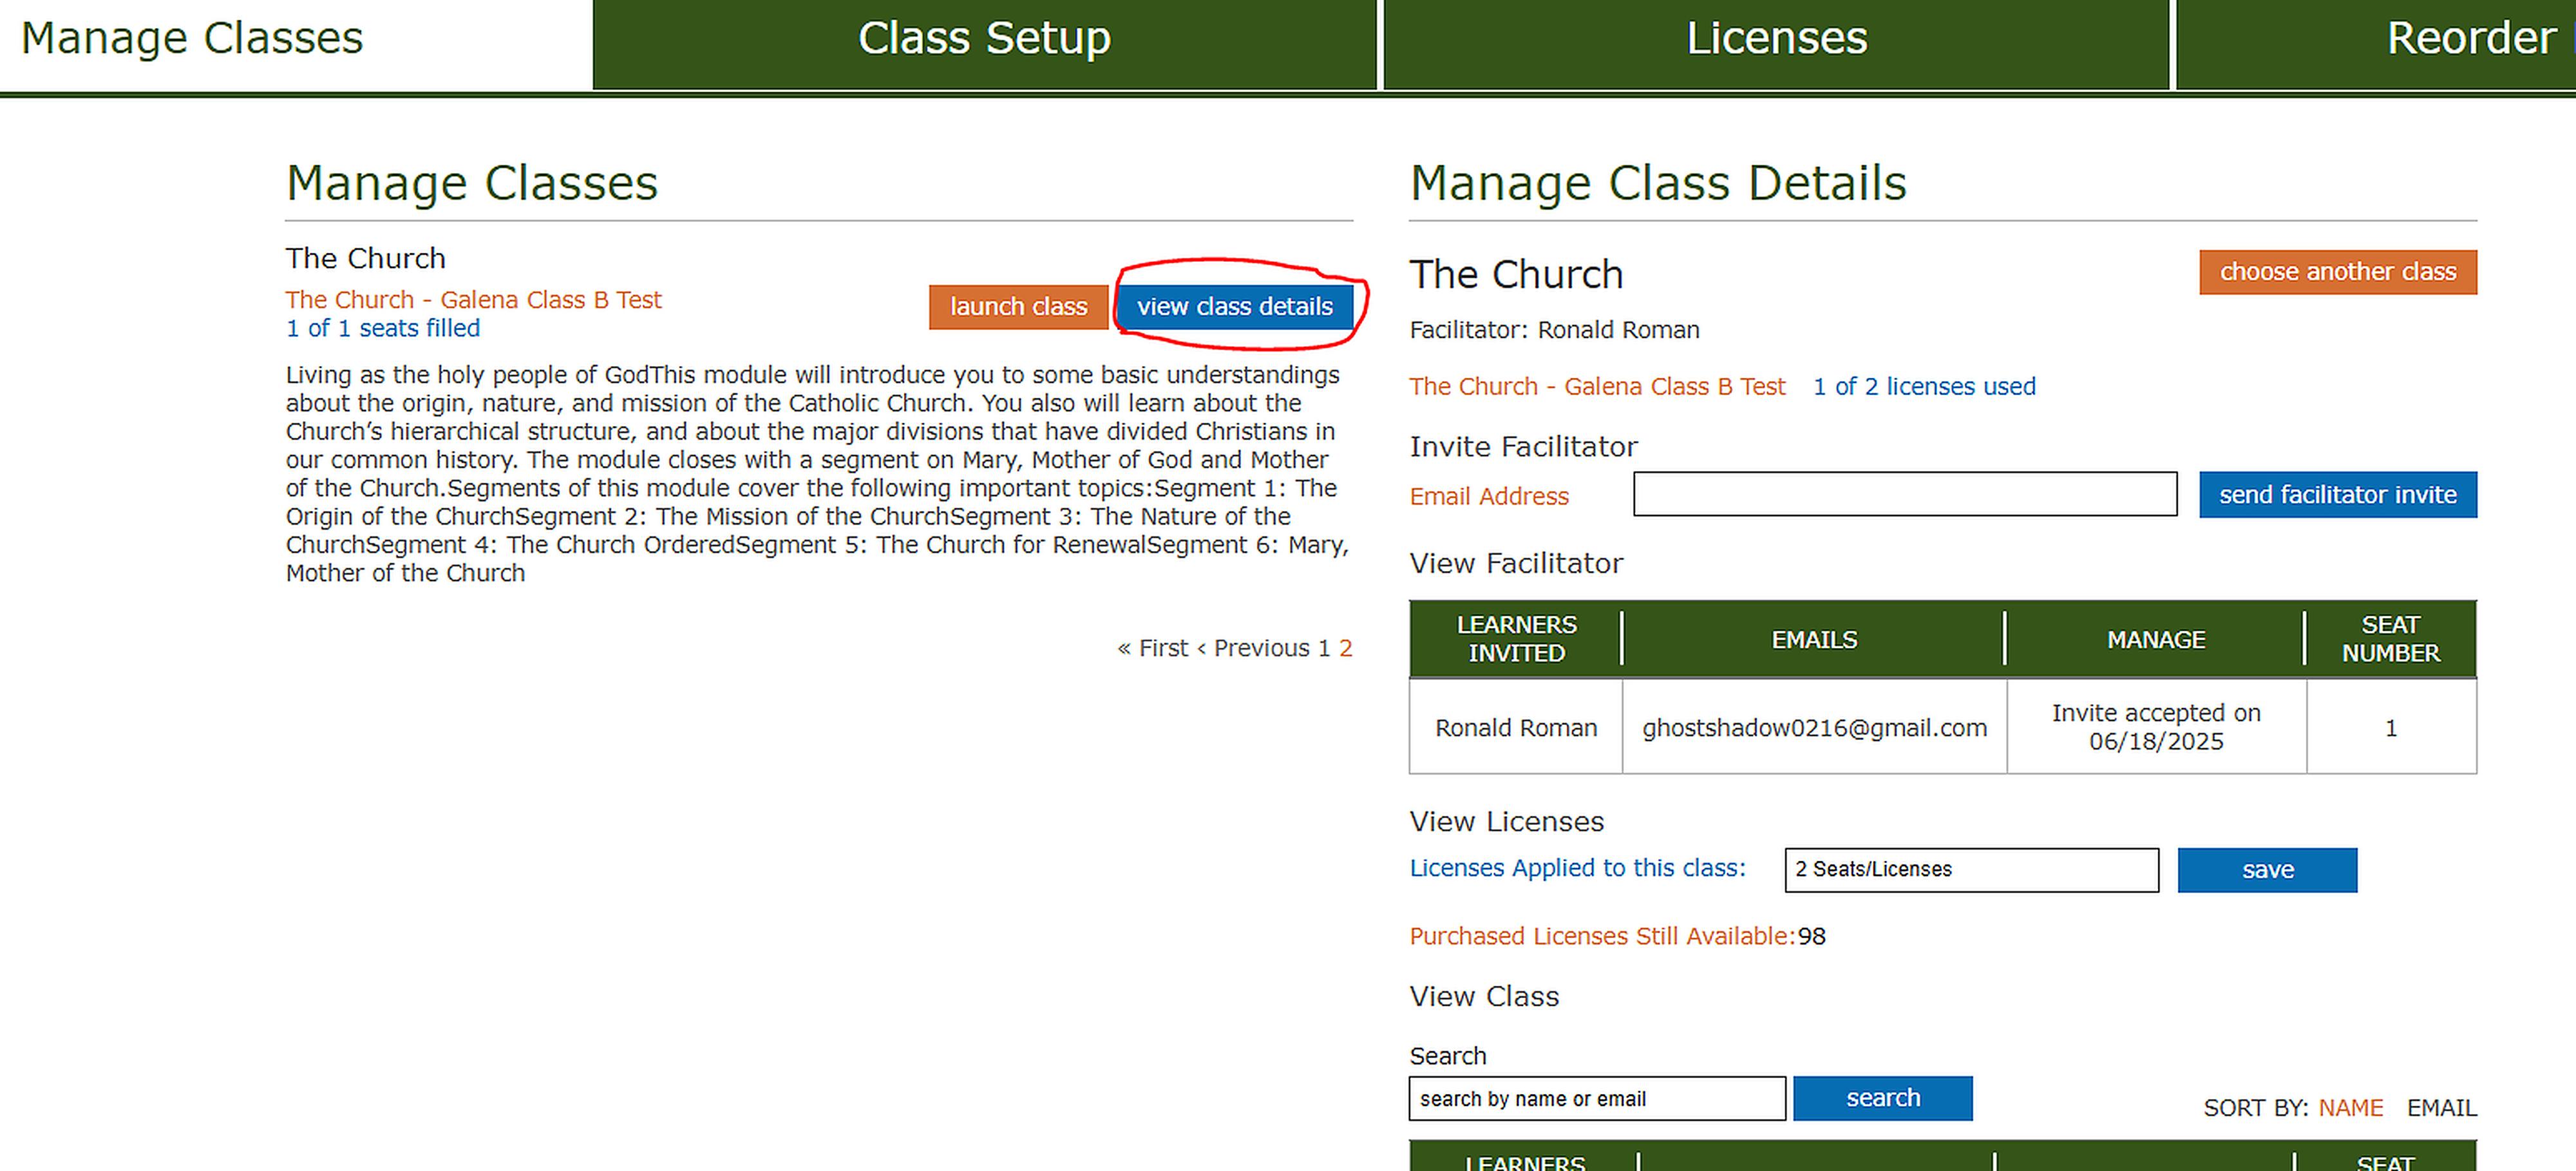
With “Manage Class Details” active, Admins can send out invites for Facilitators(Teachers). Classes can have more than one Facilitator. Admins will be able to see who the Facilitators for the class are, when the invite was set/when the invite was accepted. An Admin will also be able to either cancel the in invite or resend it if the Facilitator hasn’t accepted it yet.

Admins can also Change the number of licenses used for the class in the Manage Class Details. This will also show how many licenses are available.

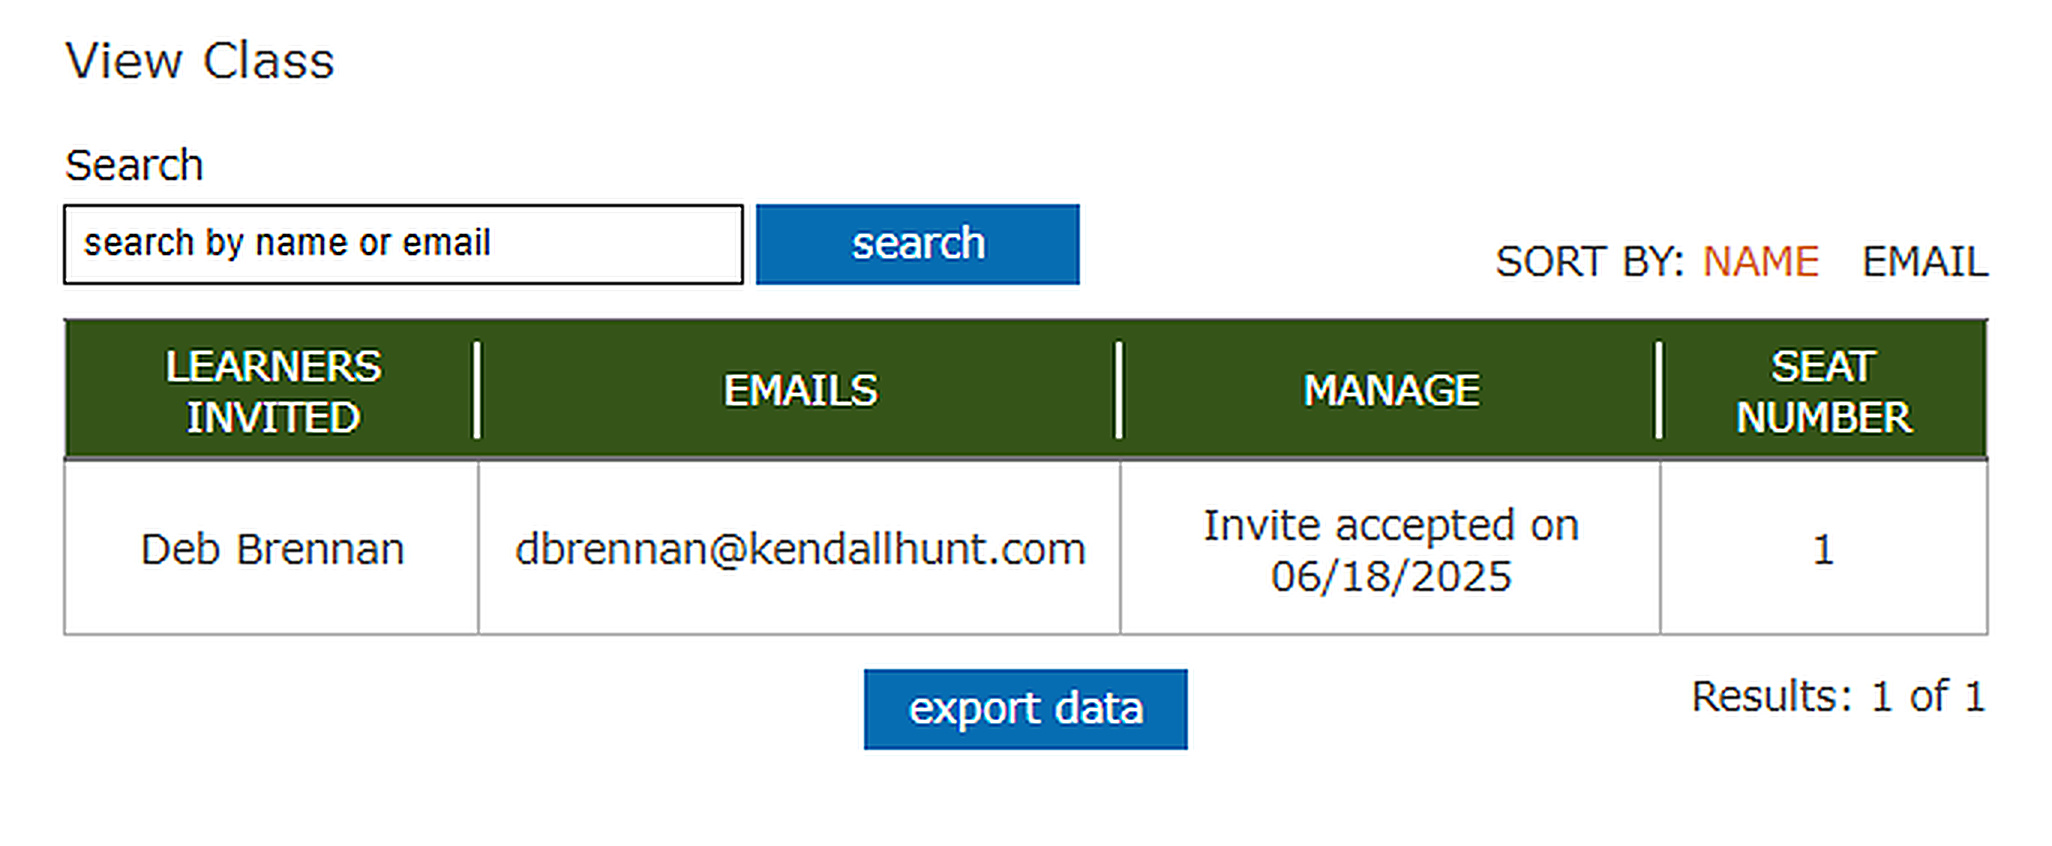
Admins can see the Learners(Students) in the class but are not able to send invites to Learners. There is a search bar Admins can use depending on how big the class is. The Export data button will make an Excel file list of all students in the class.
Adding Resources to My Resource Library
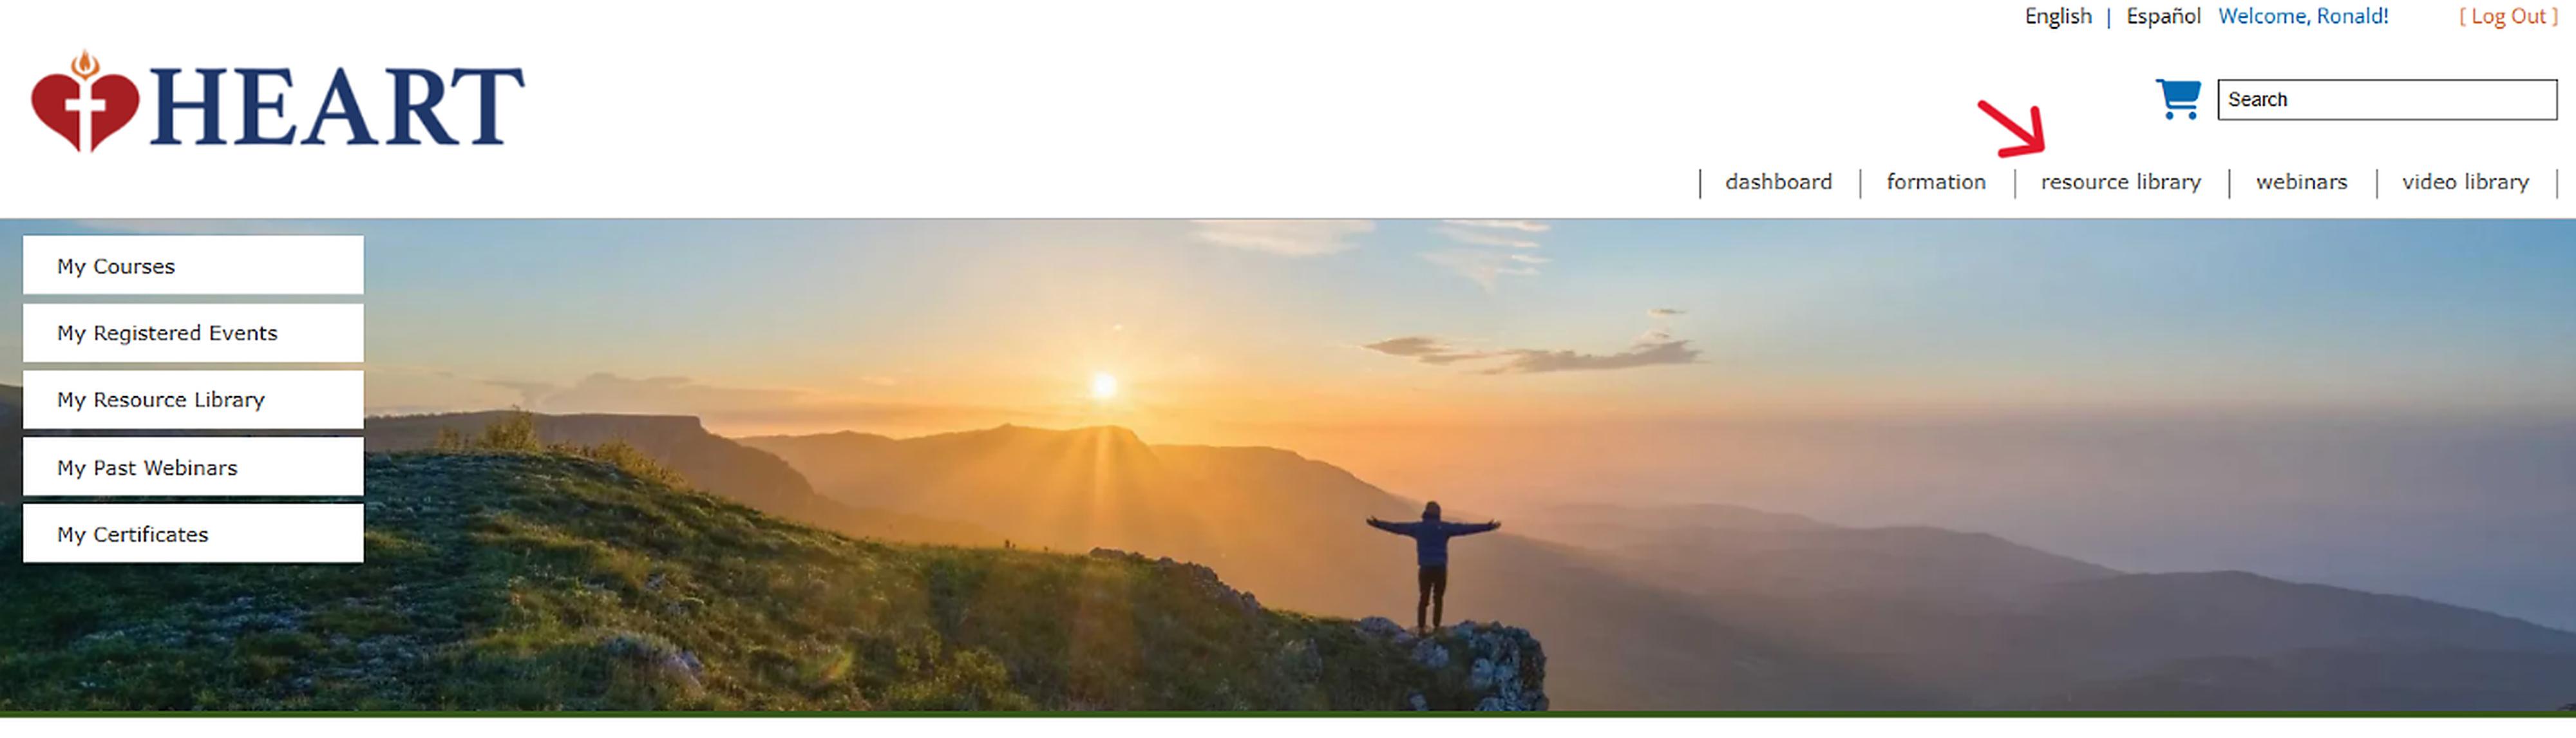
1) Click on “Resource Library” located under the search bar. Here you can find resource Documents to add to your My Resource Library.
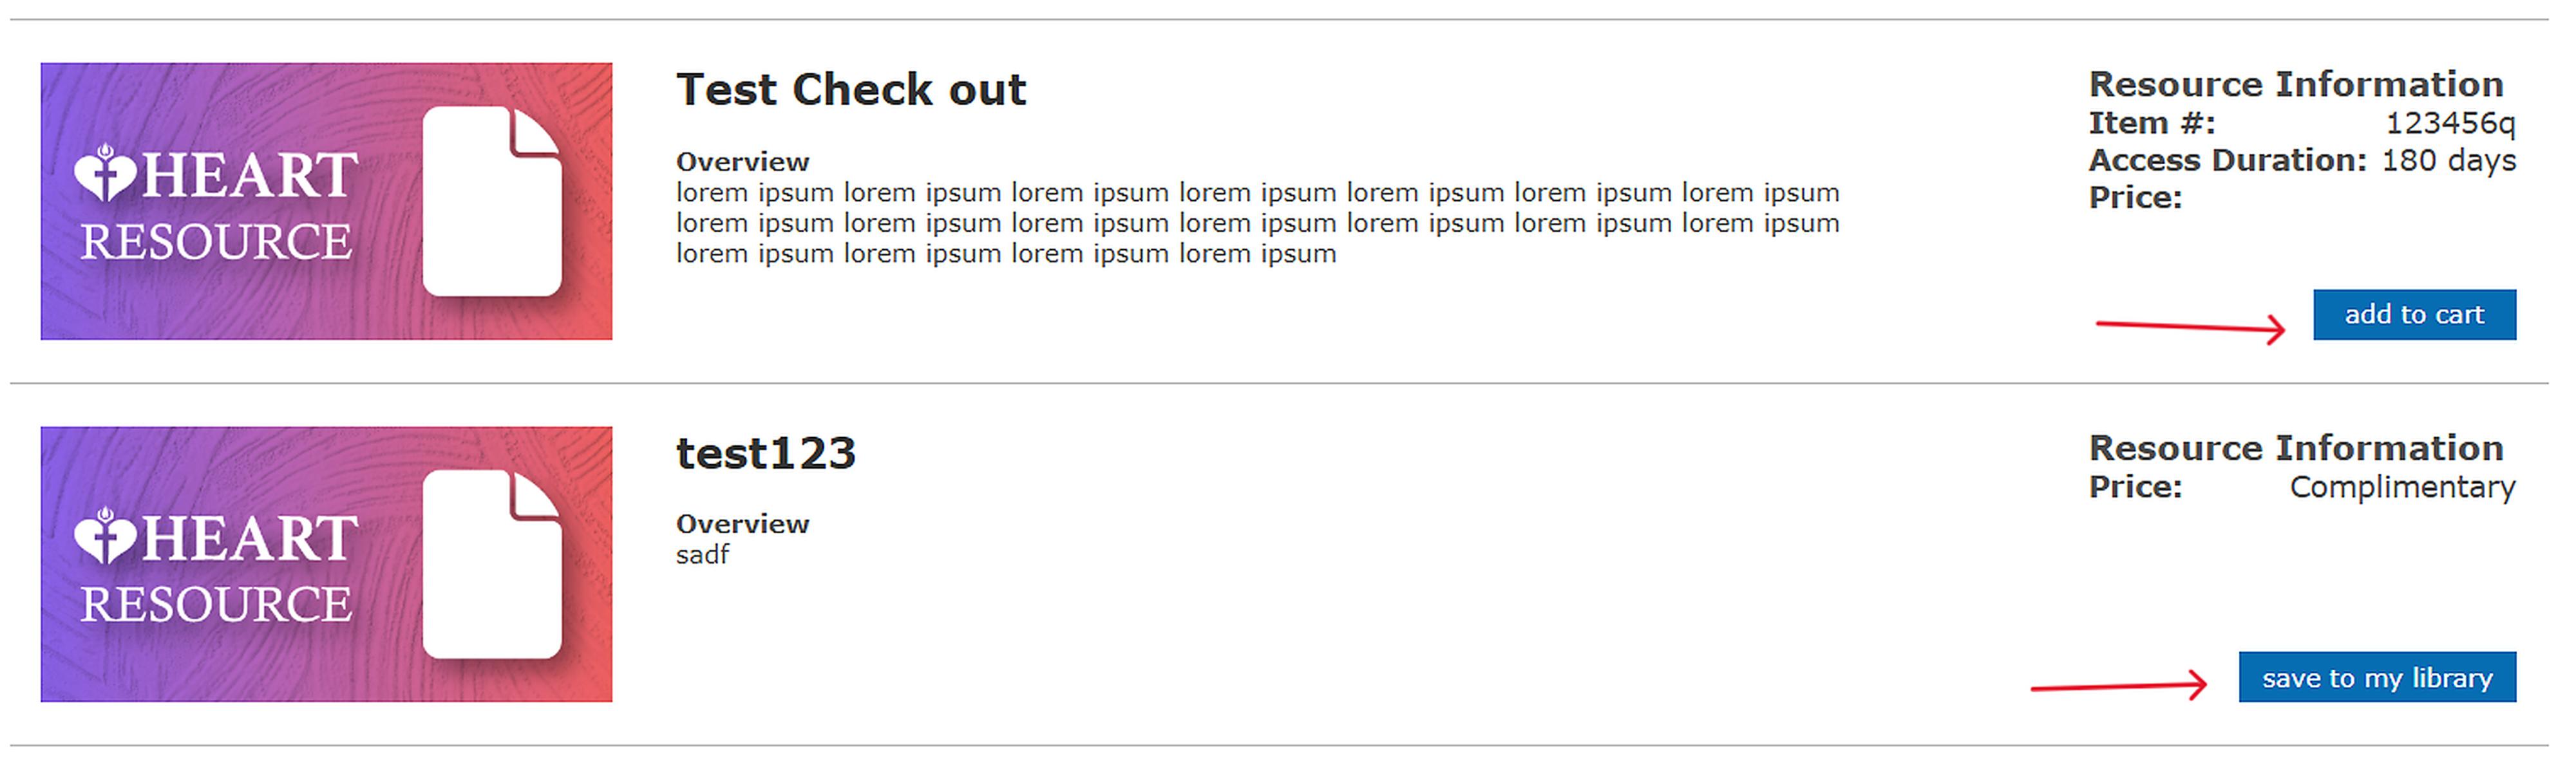
2A) There are several methods you can use to search for the resources you would like to use. Please note that some resources will be free to add while others will require you to purchase.

2B) You can use the search bar and/or the Categories section to find the resources that you would like to use. The Categories search option has both categories and topics that you can use to narrow down your search for resources.


3)To add the resource to your My Resource Library simply click “save to my library” or “add to cart” to purchase it. Once either option is completed it should then give a green box with a check mark stating, “saved to my library”.

4)Click on “Video Library” located under the search bar. Hear you can find recorded resource videos to use.

5)Video Library is set up the same as Resource Library. Searching and adding will be the same as on the Resource Library page.

6)To access the resources you’ve added to your My Resource Library, simple return to the Main page by clicking on “dashboard” and click on “My Resource Library” on the left side of the screen on the Main page.

7) Hear you can access any resources you have purchased/selected on the Resource Library and Video Library pages.

Registering For Events/Webinars
There are 2 locations that you can go to register for Events/Webinars. You can see the Upcoming Events on the Dashboard page or you can click on “webinars” to access the full list of all upcoming events/webinars scheduled.

To register for the event you would like to attend simply click on “register now!”

Complete the registration form then click “save and continue”:

You will see the registration confirmation screen and an email confirming your registration:

This event will now appear in the My Registered Events section, which can be accessed from your dashboard:

Once an event has occurred, you can see the list of your past events/webinars in the My Past Webinars section, which can also be accessed from your dashboard:
